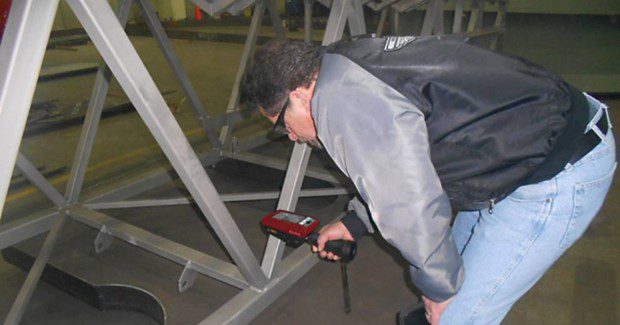
A Revolution In Weld Quality Management
This high accuracy 3D weld profile measurement method from Servo Robot uses a unique handheld non contact laser inspection system to bring objectivity, reliability and precise measurements to weld inspection.
Posted: August 21, 2012
Robotic arc welding has reached a very high level of productivity and quality in various industries including two of the most demanding which are the car industry and fabrication of heavy mining equipment. This high performance has been reached in part through the use of 3D laser weld seam tracking and geometry measurement in fully automated welding cells. For example, this guidance and inspection method is routinely used now with success in laser welding lines for tailored welded blanks in the car industry.
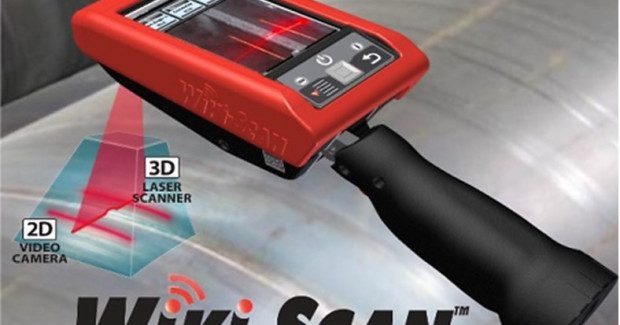
Servo Robot Inc. (Quebec, Canada) is now revolutionizing arc welding inspection by introducing a high accuracy 3D weld profile measurement method. The unique handheld non contact laser inspection system, WIKI-SCAN, is bringing objectivity, reliability and precise measurements to weld inspection. This achievement has been made possible by combining in the same tool several recent developments including hardware miniaturization, increased battery life, tablet touchscreen and wireless communication.
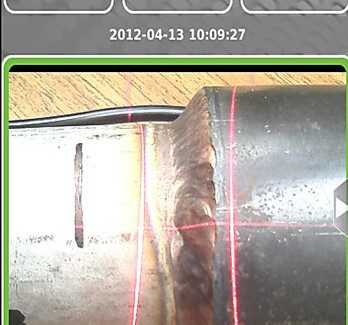
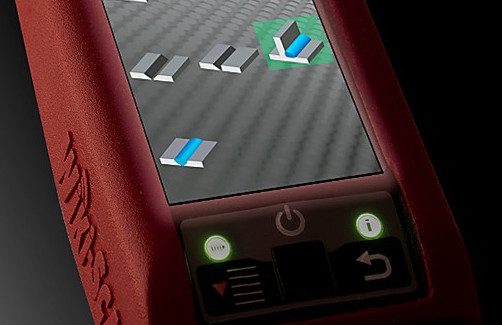
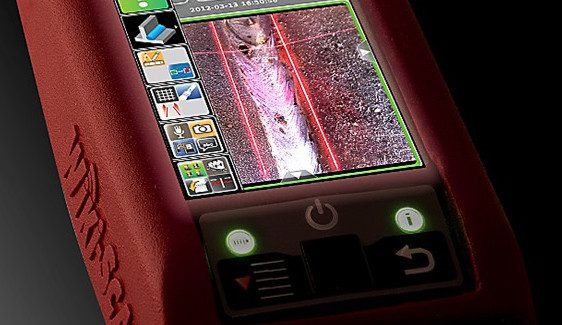
Laser beam accuracy, combined with advanced micro-processing, is used to compute dimensions of weld beads as well as detect the presence of weld defects. Utilization of the simple international icon interface, which is very similar to current generation smart phones, makes this system very easy-to-use. In addition, it is small in size which allows it to reach into tight areas. The repeatable results reduce subjectivity and inherent human error which can lead to multiple unnecessary weld repairs. A simple click of the trigger can provide many useful measurements such as leg sizes, convexity/concavity, toe angles, as well as the detection of defects such as undercut and porosity.
Results can be automatically compared to the tolerances set based on the applicable weld quality standard requirements. The WIKI-SCAN also allows for inspection of joint preparations and fit-up in the field with accurate measurements of critical parameters such as face and root openings, mismatch and bevel angle. Furthermore, a permanent record of the weld measurements, pictures, voice and written comments are stored in the WIKI-SCAN and can be sent to a computer for statistical analysis and sharing.
This innovative technology fills a wide gap between the basic visual weld inspection done today and other inspection techniques, such as Magnetic Particle Testing (MT), Liquid Penetrant Testing (PT), Ultrasonic Testing (UT) and Radiographic Testing (RT). The permanent records available with this welding inspection method match up well with those available with digital UT and RT.
Using this technology, one is effectively getting a “virtual cross section” of the weld and accomplishing much of what the traditional slow and expensive destructive cross sectioning (cut & etch) does. It can measure and inspect certain types of joints/welds that have not been possible to do effectively, including skewed fillets, flange/socket welds, bulb Tees, etc. It also can be used while a weld is still hot so intermediate inspection can be done to find root pass defects or better predict if the weld will be the right size when it is finished.
This weld information system is transforming the approach to the manufacturing of weldments, evaluation of productivity and the avoidance of defects. The WIKI-SCAN methodology (Weld SureTM) can be fully automated with robots or manually performed by an inspector or operator with the handheld system. In Table 1 you can see the type of information that is available from the WIKI-SCAN.
Table 1. Quantitative data
- Joint preparation and fit up
- Weld geometry (shape)
- Weld dimensions
- Weld volume
- Detection of geometric defects
- Undercut
- Excessive weld size
- Undersized welds
- Porosity
- Excessive convexity
- Excessive Concavity
Table 1. Advantages
- Portable
- Easy to use
- Safe
- Can measure welds and joints not possible with conventional methods
- Automatic data recording
- Data processing and analysis of weld quality
- Easy weld assessment (GO/NO-GO)
- Easy data interpretation (unlike RT or UT)
Multiple factors are converging to better assess the productivity and quality of today’s welded products and processes thus facilitating continuous improve efforts. These are:
- Weld quality: Assessment per applicable weld standard
- Workmanship: Weld process stability, weld geometry
- Production costs : Joint fit up, gap variation, consumption of filler metals
- Trends : The production welding system can be adjusted based on real data to achieve consistency and avoid defects
- Statistics: WIKI-SCAN data analysis useful for continuous improvement
The WIKI-SCAN is the first truly portable laser scanning system built specifically for the measurement and inspection of welds that takes advantage of today’s high end computing power packaged in a small I-Phone like device. While it is extremely powerful in its present form, the future enhancements possible are unlimited and will parallel what is occurring with all of our personal devices like the I-Pad. This system will provide companies all over the world with the opportunity to simultaneously increase productivity and quality.
Servo Robot, Inc., 1370 Hocquart, Saint-Bruno-de-Montarville, QC J3V 6B2, Canada, 450-653-7868, www.servorobot.com.

