Hard Gaging Goes Soft
Jet engine component maker Meyer Tool reduces its hard gage costs by replacing multiple costly hard gages with a single software-driven Equator gage from Renishaw.
Posted: November 5, 2012
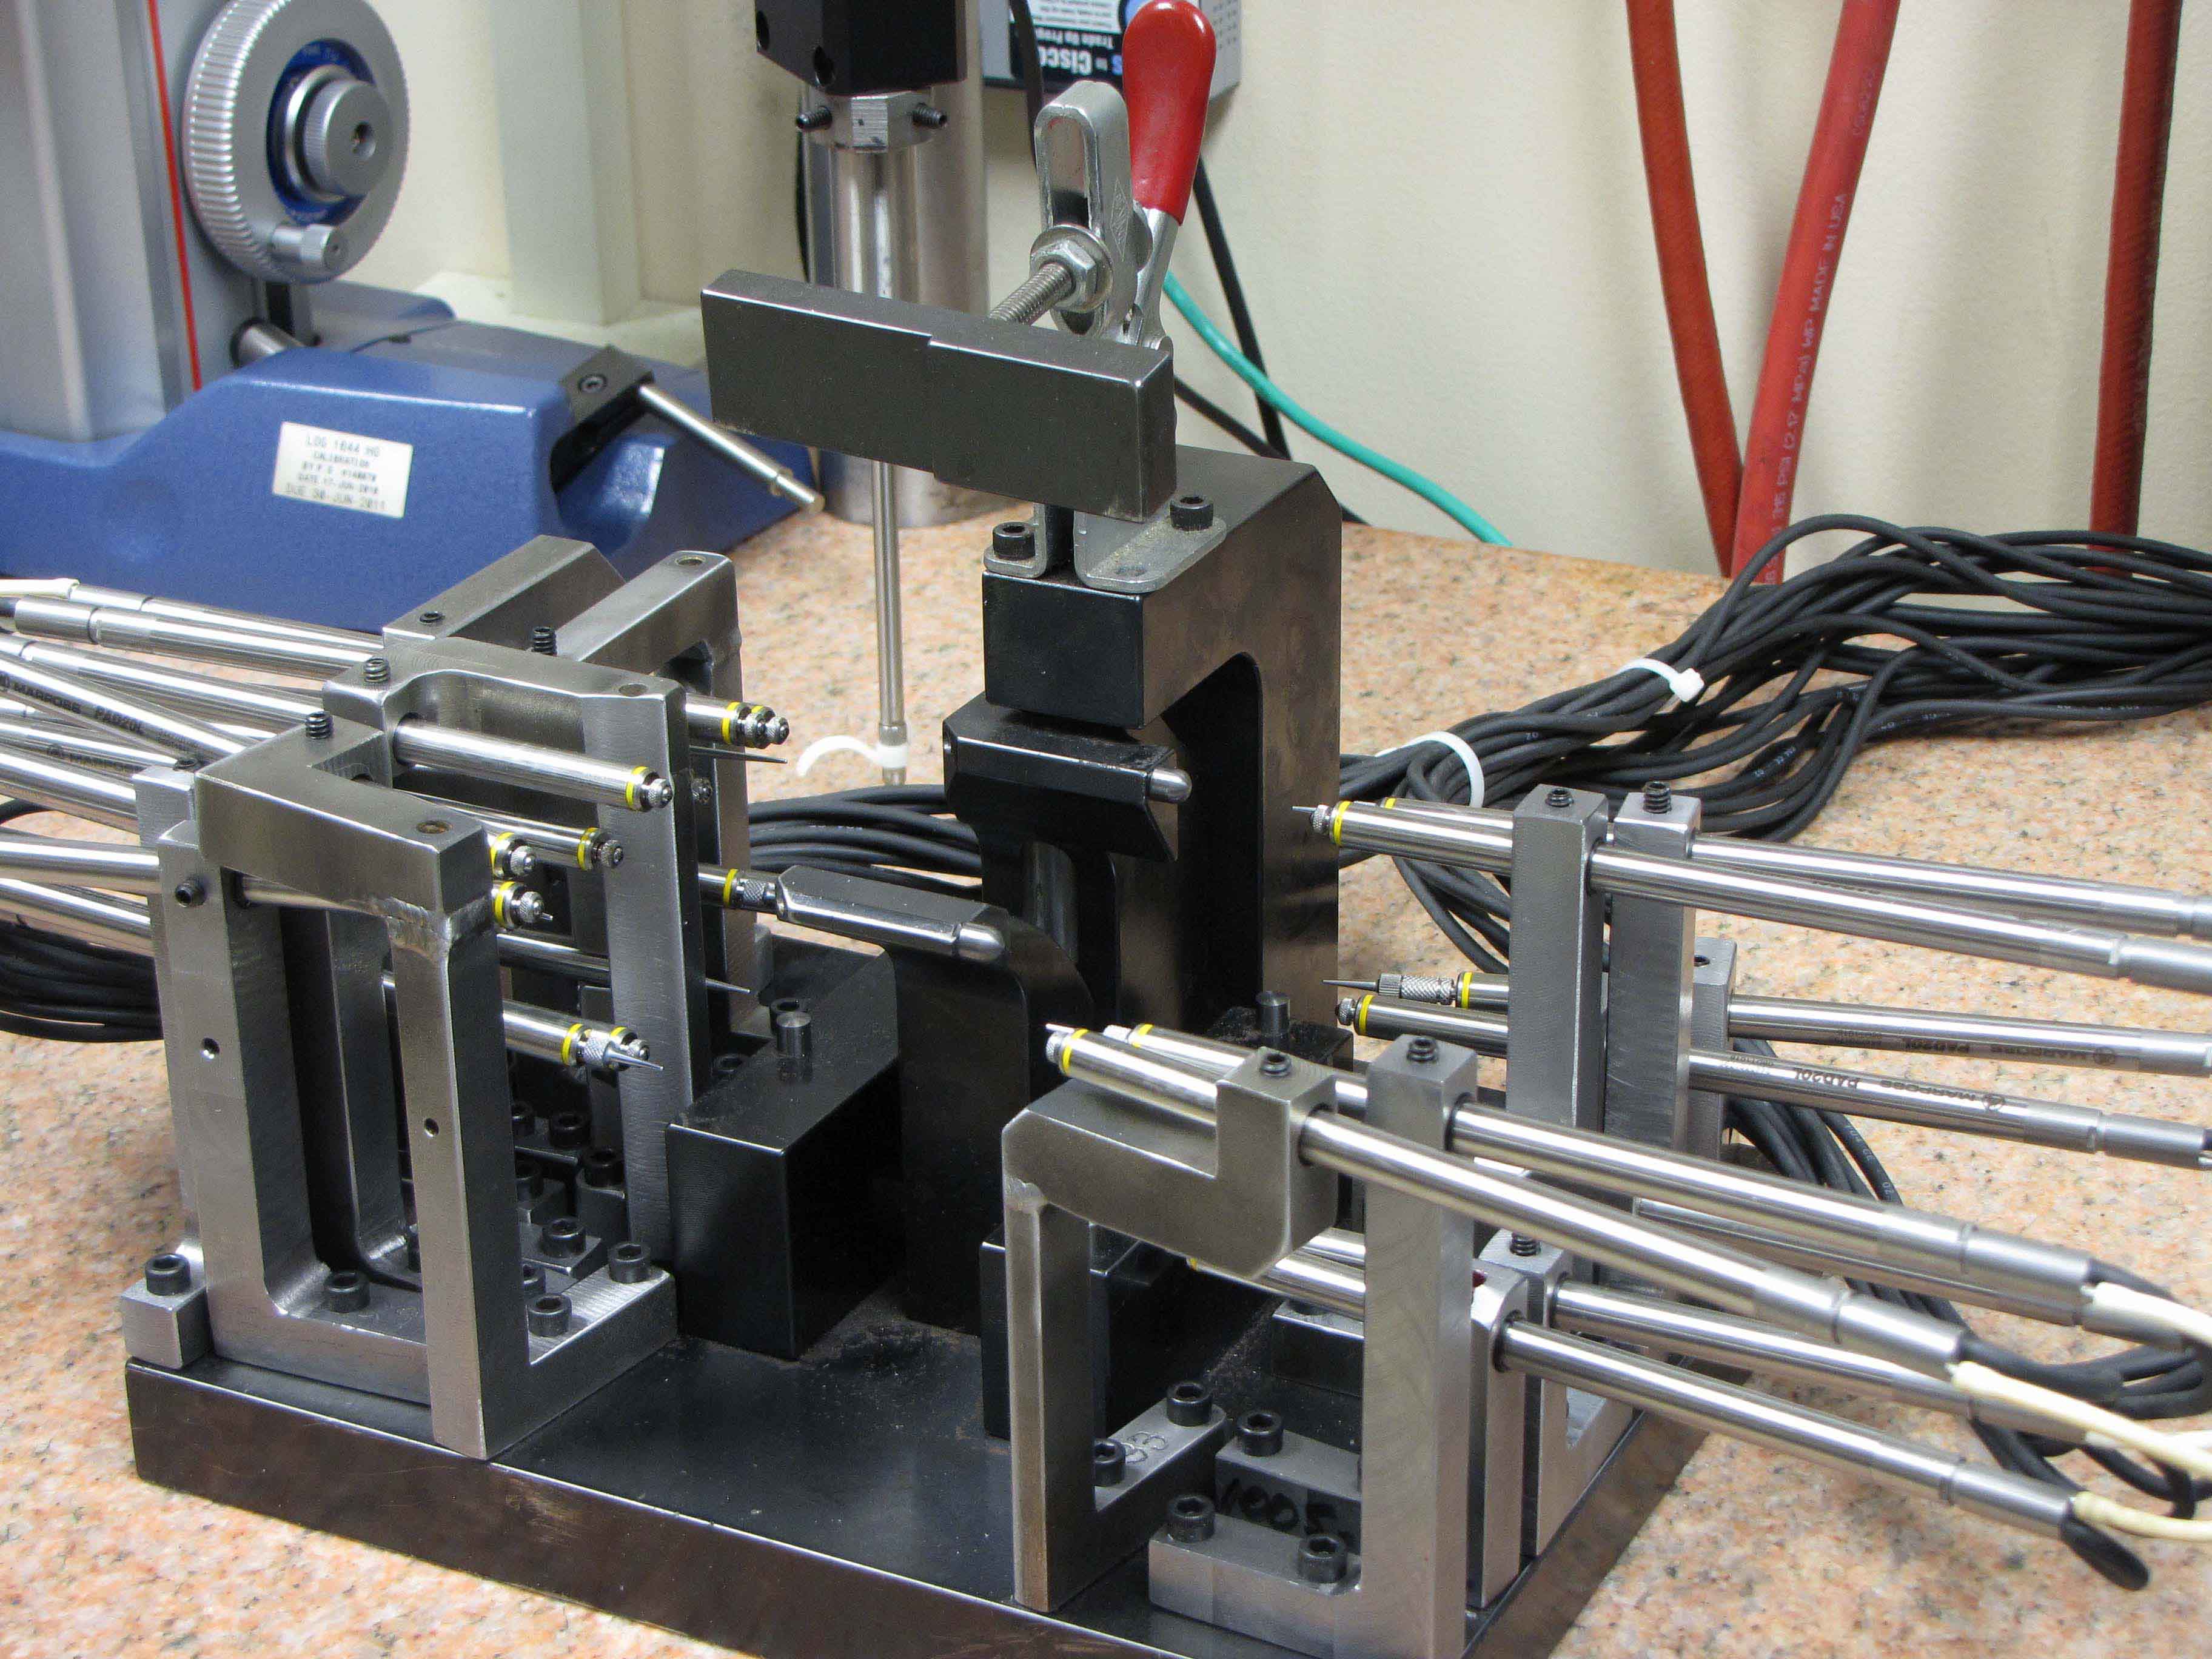
According to Easton, the company designs, builds, and maintains dozens of costly custom hard gages every year for in-process measurement. Down the line, design changes on a part can add another $3,000 to $10,000 to re-configure and qualify an existing gage. For in-process dimensional measurement, Meyer Tool principally relies on work-cell-based point-to-point contact gages, using pneumatic digital probes. Hard gages in the machining cell give very fast feedback, but are expensive.
Design/build of the part nest can cost $6,000, plus probes at over $500 each, verification studies and maintenance. “If we are producing a make-complete nozzle, there could be six to ten fixtures, each with six to twenty probes. And if a feature or tolerance on the part changes, it adds time for the gage to be altered and verified,” notes Easton.
When shown the Equator comparative gage and offered a pre-launch trial, Easton and SPC manager Bridget Nolan said they immediately recognized the potential. “We got involved with the introduction of the system and provided parts for programming and trials. The results matched our coordinate measuring machine (CMM) results,” says Nolan, whose group sets up, maintains and programs all of the company gages, fixtures and instruments.
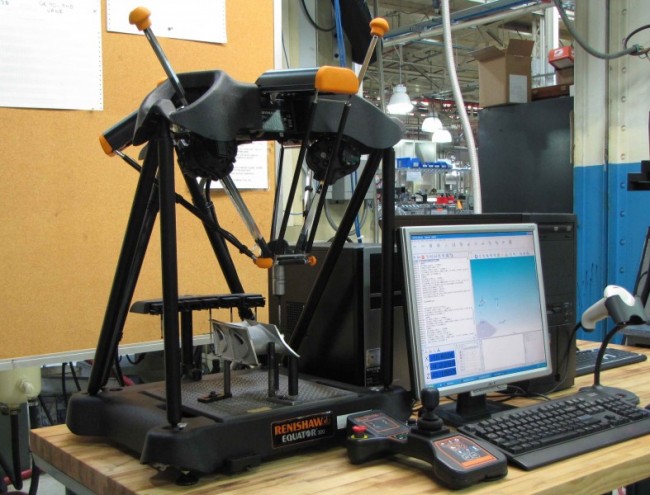
Though its appearance is unusual, the Equator system uses the comparison method of mastering and measuring familiar to anyone who uses dedicated gaging systems. A master component with features of known dimensions is used to “zero” the system, with all subsequent measurements compared to this part. The key to the Equator system is a highly repeatable and radically different metrology mechanism based on a parallel kinematic structure.
This mechanism is lightweight, allowing rapid motion, yet very stiff and repeatable. The system uses Renishaw touch and scanning probes, styli and stylus change racks, and MODUS™ Equator programming software. Cost-wise, three to five hard gages in a Meyer Tool work cell can all be replaced by one Equator that can be used for multiple parts, switching between them in seconds, as well as reprogrammed for many other parts over its life.
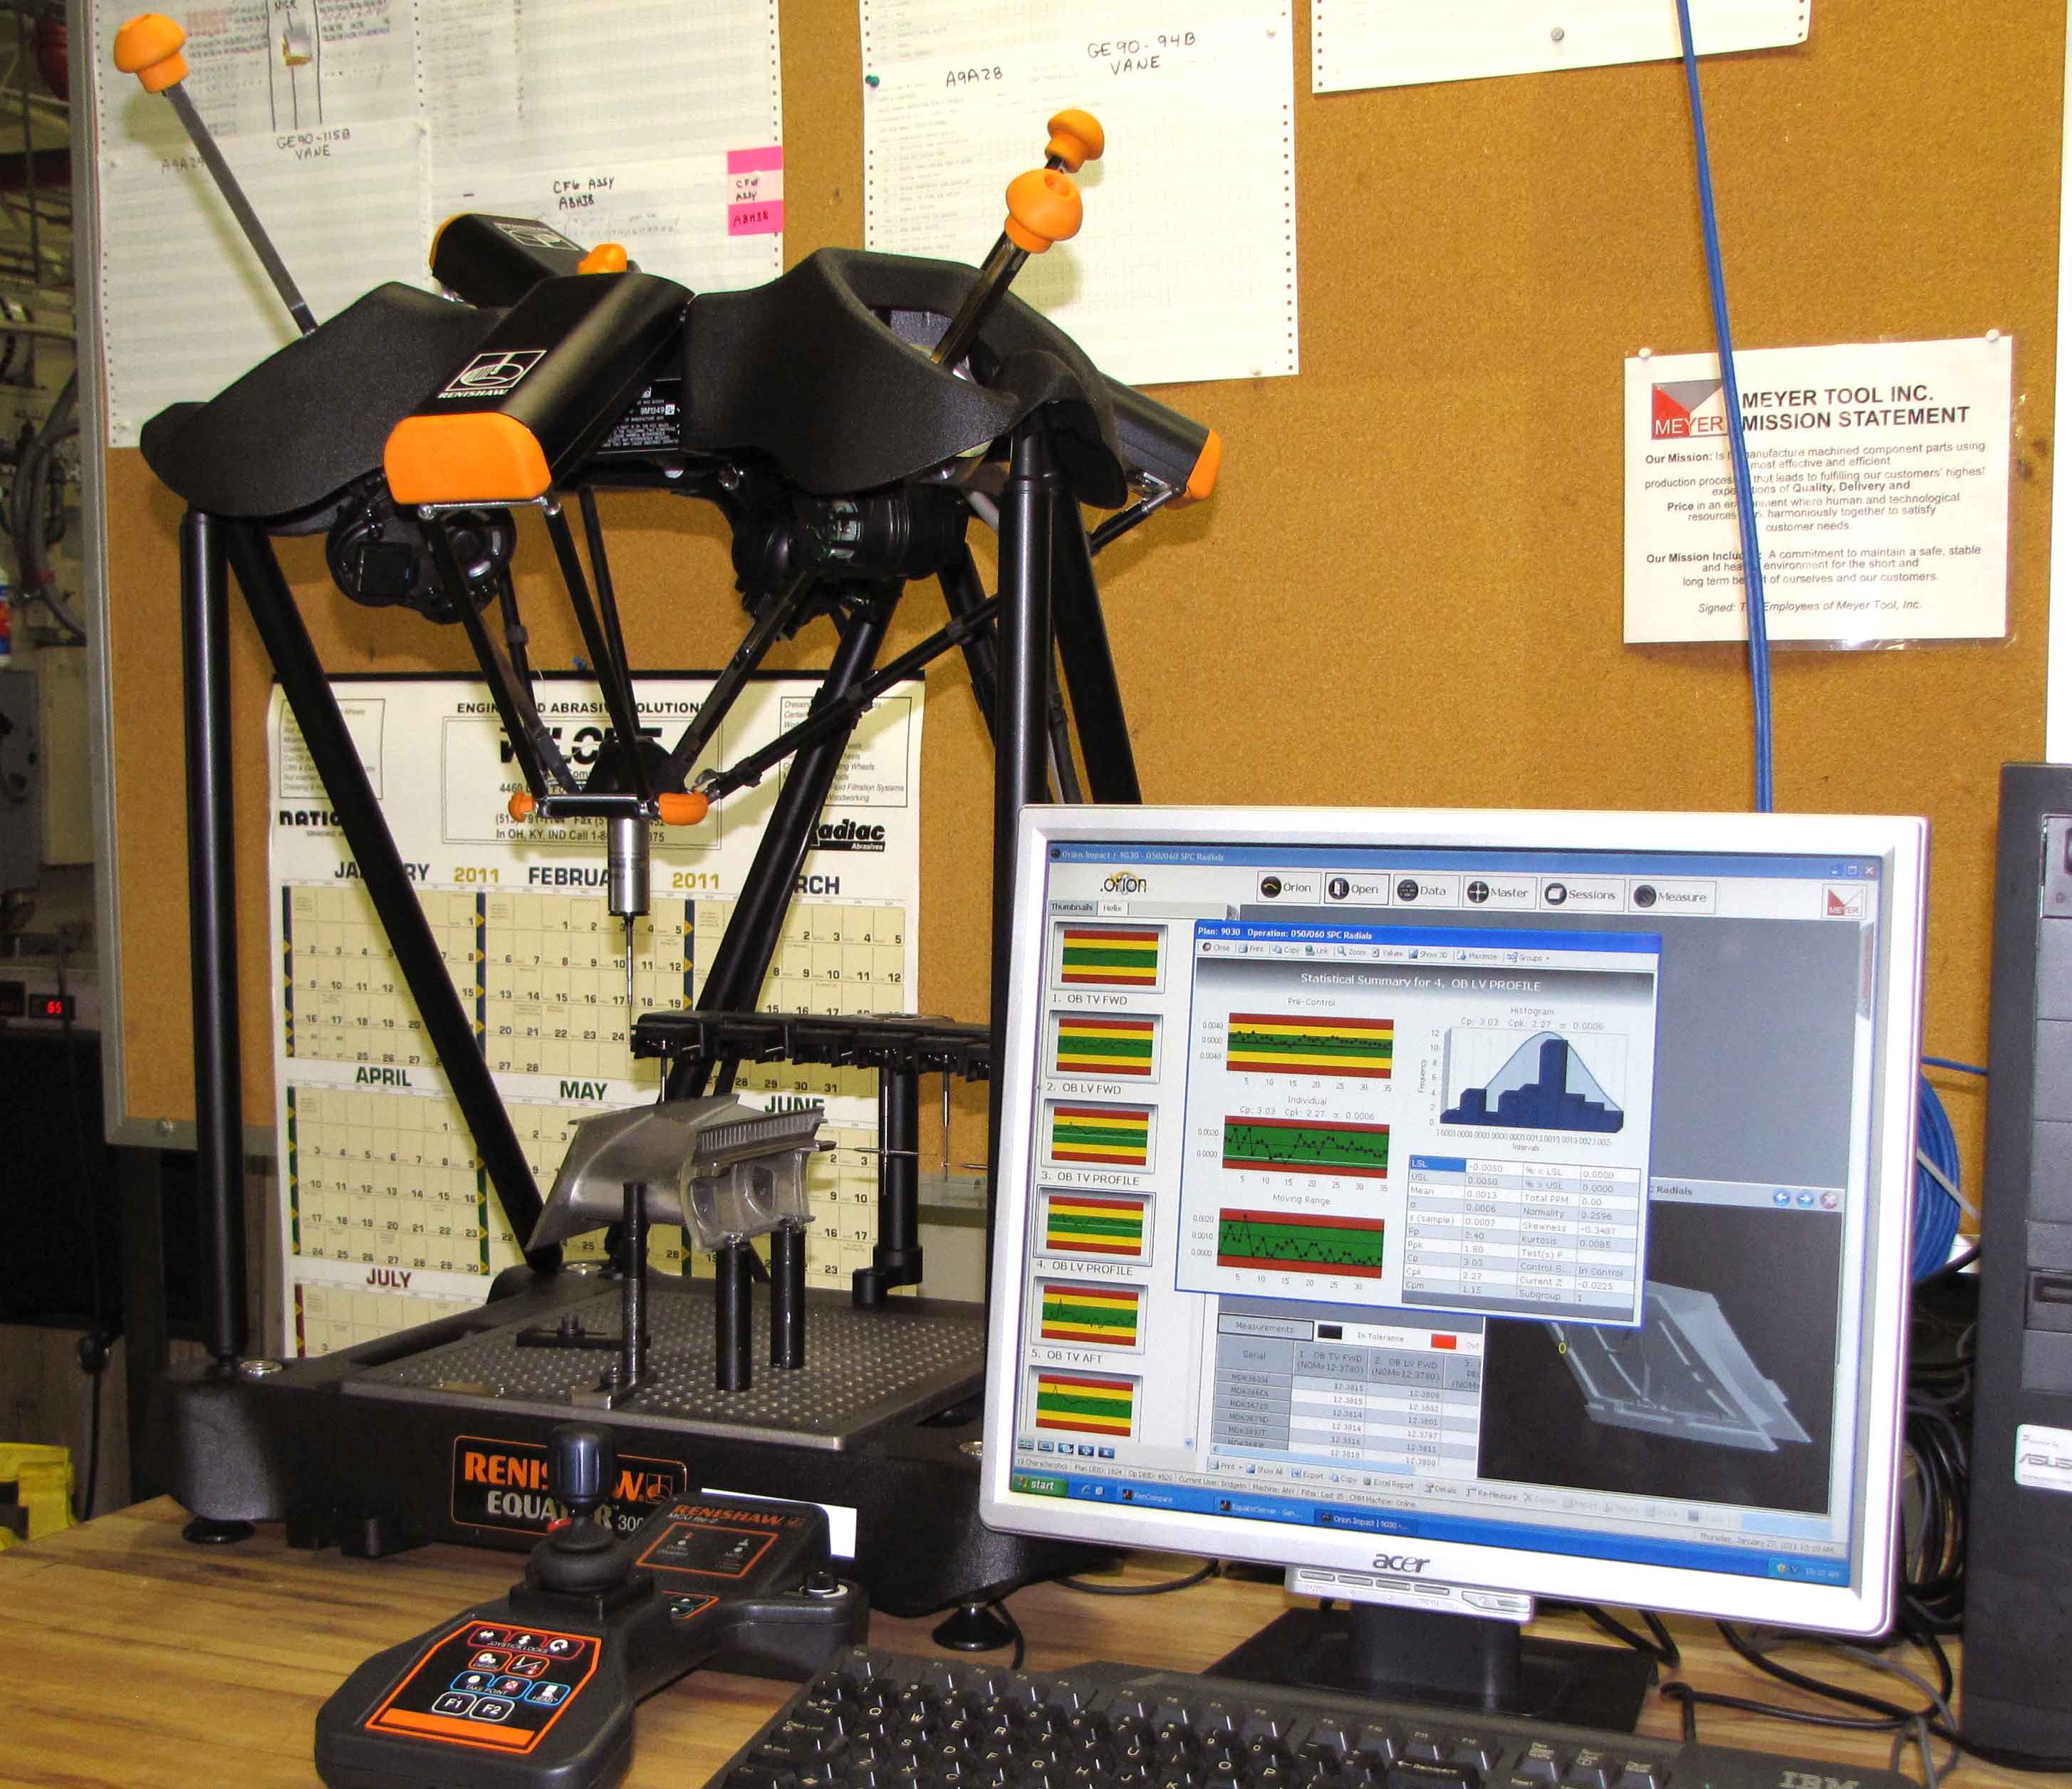
The first Equator system is currently assigned to a lean machining cell in the shop at Meyer Tool. Demonstrating its adaptability, it integrates with the shop’s Orion SPC system, maintaining a familiar look for machinists and shortening the learning curve. Orion communicates with the Equator’s MODUS software, presenting the operator with results in the form of dimensional data, SPC charts, etc. that allow the operator to determine CNC offsets.
“Keep in mind that the machinist sees variable data and can compare the current part with recent measurements, so it’s not just a pass/fail determination,” reminds Nolan. The parts must meet tolerances of ±0.001 in to ±0.003 in. Inspection time varies with the part, but typically takes two to six minutes, well within the TAKT time of the cell so the system easily keeps pace with machining operations.
“We already gage five part numbers for two different engine programs, so we have multiple fixturing tiles for the Equator set up and qualified,” says Nolan. “We try to combine as many different operations on one tile as possible to limit our qualifications, and we’re currently working on one tile that will combine three. We are doing GD&T true positions, notches, hole diameters, profiles, runout and such with touch probing, though we are implementing contact scanning with the SP25M probe. We have the stylus changing rack and use at least four different styli – frequently star styli – so it is very convenient not to have to requalify with every change.”
The Equator measurements at Meyer Tool are correlated with those from a CMM using a CMM-calibrated master part. “The master part sets the values that the Equator expects to find inside its measuring envelope while the software automatically applies the compensation values from nominal taken by the CMM,” explains Nolan. “It must check within 10 percent of allowable tolerance from nominal.” There is no need to re-master on every part change, though Meyer does re-master on a three-hour schedule to compensate for changes in the plant’s temperature. “This new system memorizes the master parts and validation scores, so we can switch parts as many times as needed during the three-hour window and not have to re-master,” adds Nolan.
With well over 100 hard gages costing $10,000 to $20,000 apiece throughout its facilities, Meyer Tool recognizes the potential cost advantages of a flexible, software-driven gaging system. “We are still expanding our knowledge and capabilities with the Equator system, but have high expectations that it will ultimately alleviate a large part of our cost burden for hard gages,” Easton adds.
Renishaw Inc., 5277 Trillium Boulevard, Hoffman Estates, IL 60192, 847-286-9953, Fax: 847-286-9974, www.renishaw.com.


