Selecting the Proper Video Measurement System for Your Shop
As the power of video and the PC change and improve non-contact measurement practices, understanding the new systems that are emerging is a learning process. Here are some tips on how to define the application requirements, budget considerations, current level of expertise, and type of training that is required.
Posted: February 11, 2013
Depending on the application, inspectors can choose from various non-contact inspection solutions to provide the results they require. In addition to defining the application requirements, a shop must also consider its budget, its current level of expertise, and the type of training that is required.
SCOPING THE BASICS
At the entry level, optical microscopes have long been a key component in manufacturing, education and research. There are many styles and types to choose from depending on the application. The most common used in manufacturing are stereo microscopes and toolmakers microscopes. These also come in a variety of styles and in a wide range of prices.
The “zoom stereo scope” combines two separate optical paths through individual zoom lenses and is intended mostly for visual inspection. It offers a clear, rich image with an extended depth of focus. Toolmakers’ microscopes typically utilize a single optical path and a shallower depth of focus, which is better for measuring. They also utilize an X-Y stage for moving the work piece into the field of view and making measurements to a reference line or reticle.
Many microscopes and video microscopes are designed in a modular fashion. Their functionality can be tailored to the application as required by adding the right lenses, illumination and work holding devices. In addition, software enhancements can add archiving, transmitting images and generating work related reports and documentation.
Communication with a vendor is enhanced when a picture of the part or feature of a part in question can be identified visually. These enhancements can also streamline training.
Microscopes and other non-contact inspection systems continue to offer more capabilities. The simple LED display evolved into a “smart digital readout” that offers complex computing capability in a simplified format. The power of this device is truly realized when measuring features with complex geometric shapes or when measuring multiples of the same part.
The results reveal themselves in the way of enhanced throughput when an inspector is required to accomplish extensive measurements in a compressed time schedule.
COMPARATORS AND VISION
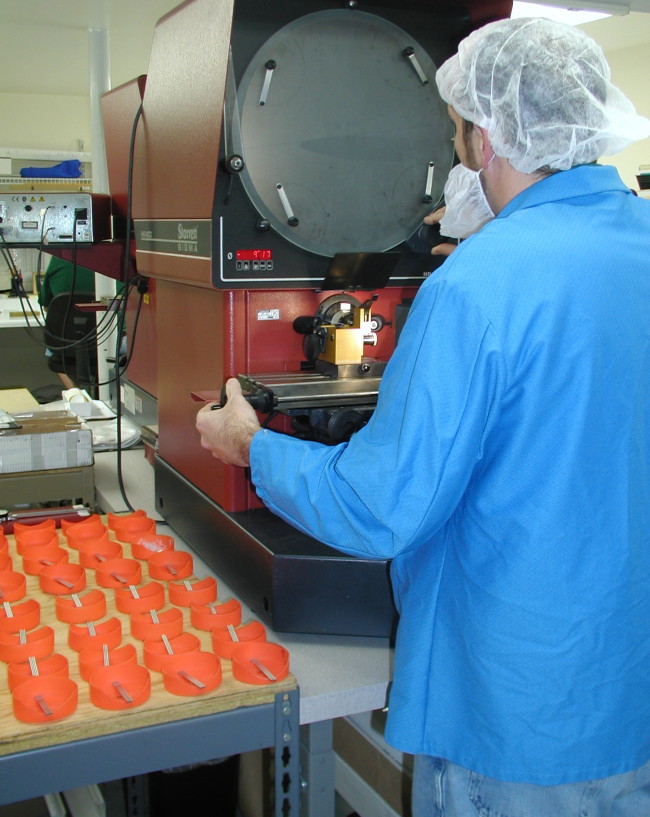
Other non-contact options to consider are optical comparators and video measuring systems. The optical comparator is a solution that inspectors rely upon because of their ease-of-use and established track record.
Comparators provide a combination of excellent image quality coupled with a full range of features. These include superb optics, readout devices, software interfaces, geometric measuring capabilities and screens that range in size from 12 in all the way to 40 in. Light path options are offered in horizontal or vertical orientations, as determined by the application. In addition, in recent years many optical comparators are configured with optical edge detection.
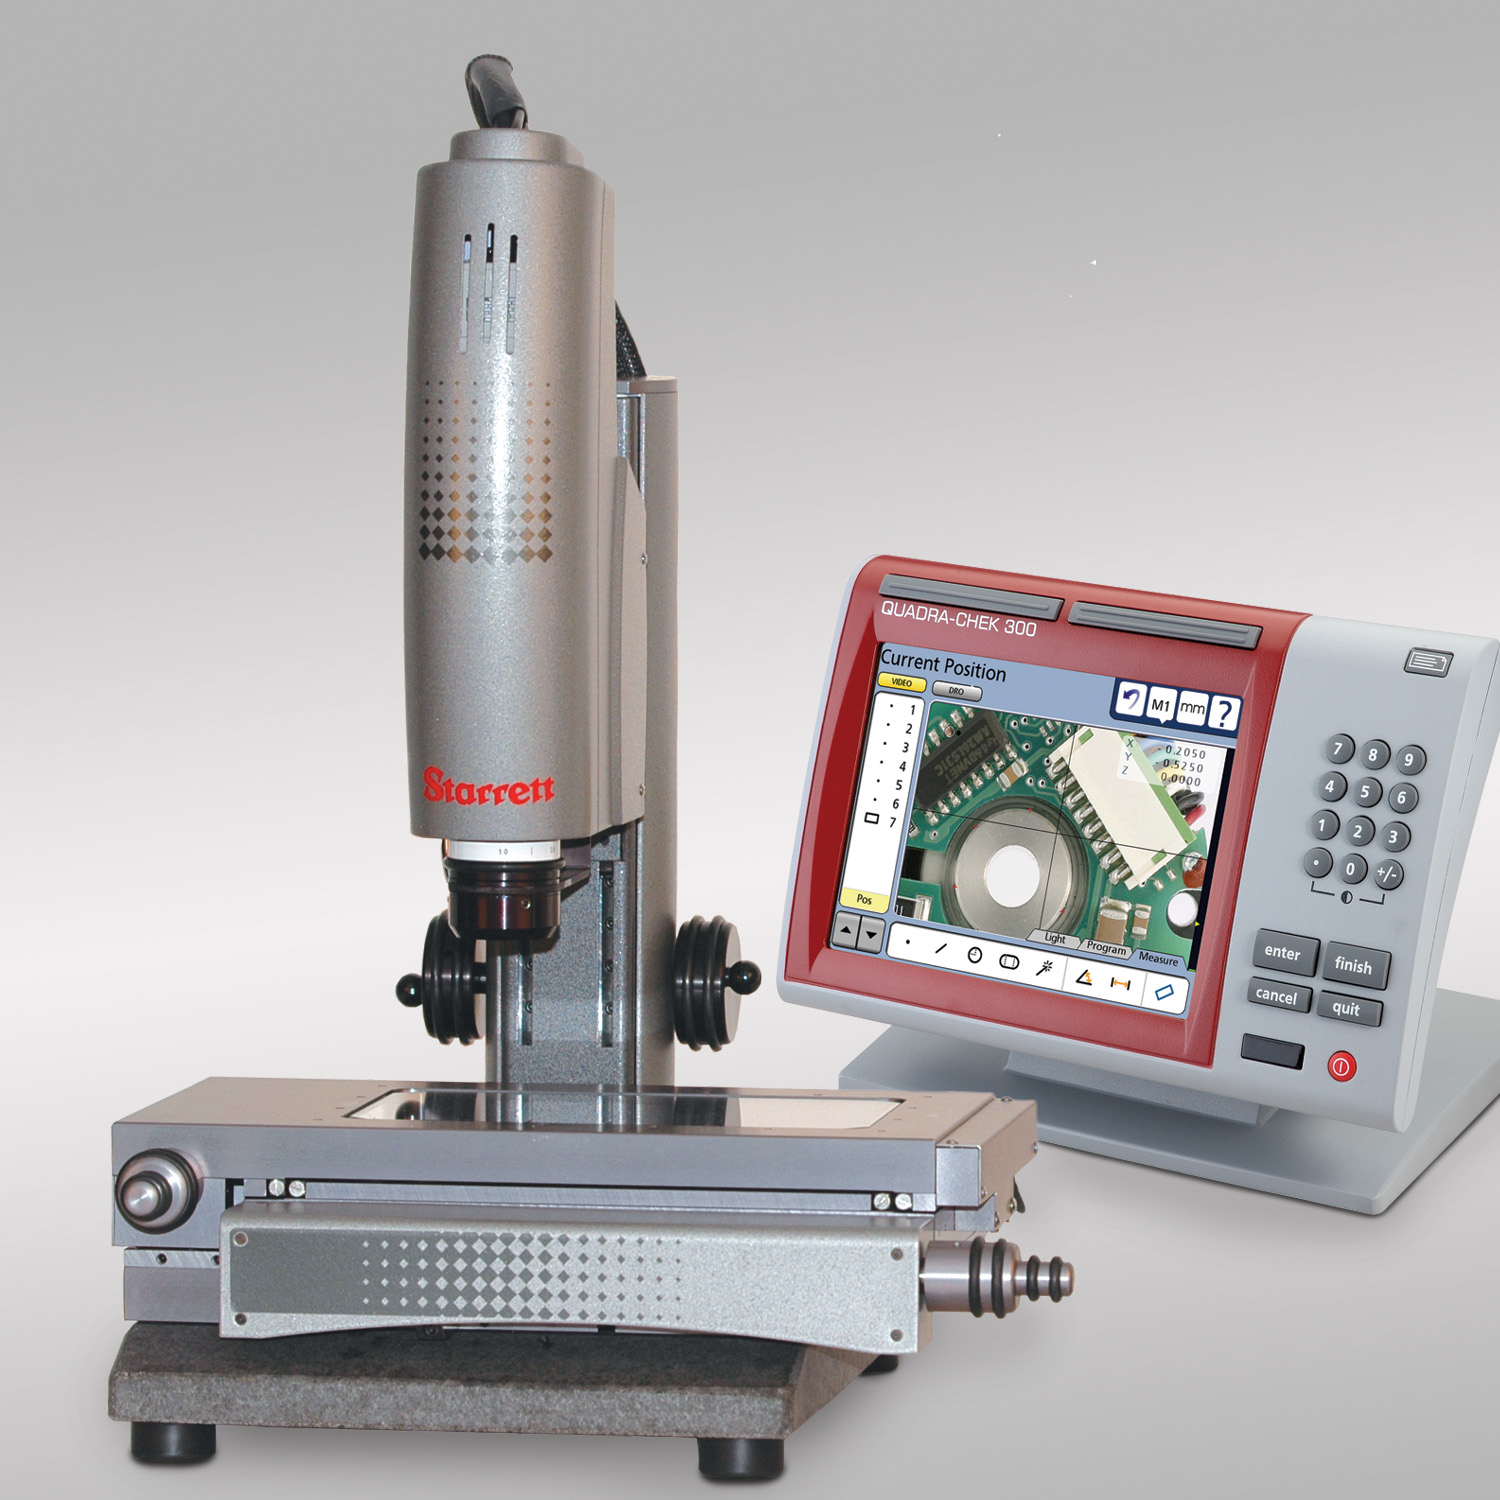
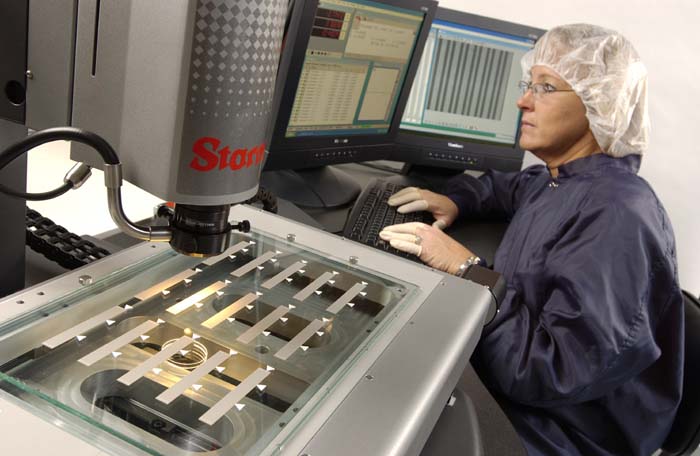
Simple “bench top” video measurement systems powered by a PC and independent motion control systems are an excellent choice for many applications. These systems are small, powerful and affordable. If an application demands brighter surface illumination and higher magnification, a manual vision system should be considered.
Compact manual vision systems are available, with live video camera feed and automatic edge detection via digital readouts. This type of system is an ideal video-based measurement solution for general purpose QA inspection, manufacturing and R&D non-contact measurement applications and represents a natural upgrade from a comparator, without the complexity of PC-based software.
Vision systems offer excellent surface illumination and the versatility of a zoom lens with magnification ranging from 10X to 240X. Inspectors that know how to use a comparator generally find a manual vision system easy-to-learn.
Features that inspectors find especially useful are image archival with the ability to add text and upload data to a flash memory device. The digital readout also adds an excellent and easily achieved advantage by providing video edge detection that automatically detects and targets edge points by scanning the image area within a circle around the crosshairs on the display, eliminating operator subjectivity.
For high volume applications that require significant throughput and repeatability, especially when inspecting complicated parts, automated vision systems are invaluable. Automation removes operator subjectivity, which is essential when working within very tight tolerances.
CONVERGING TECHNOLOGY
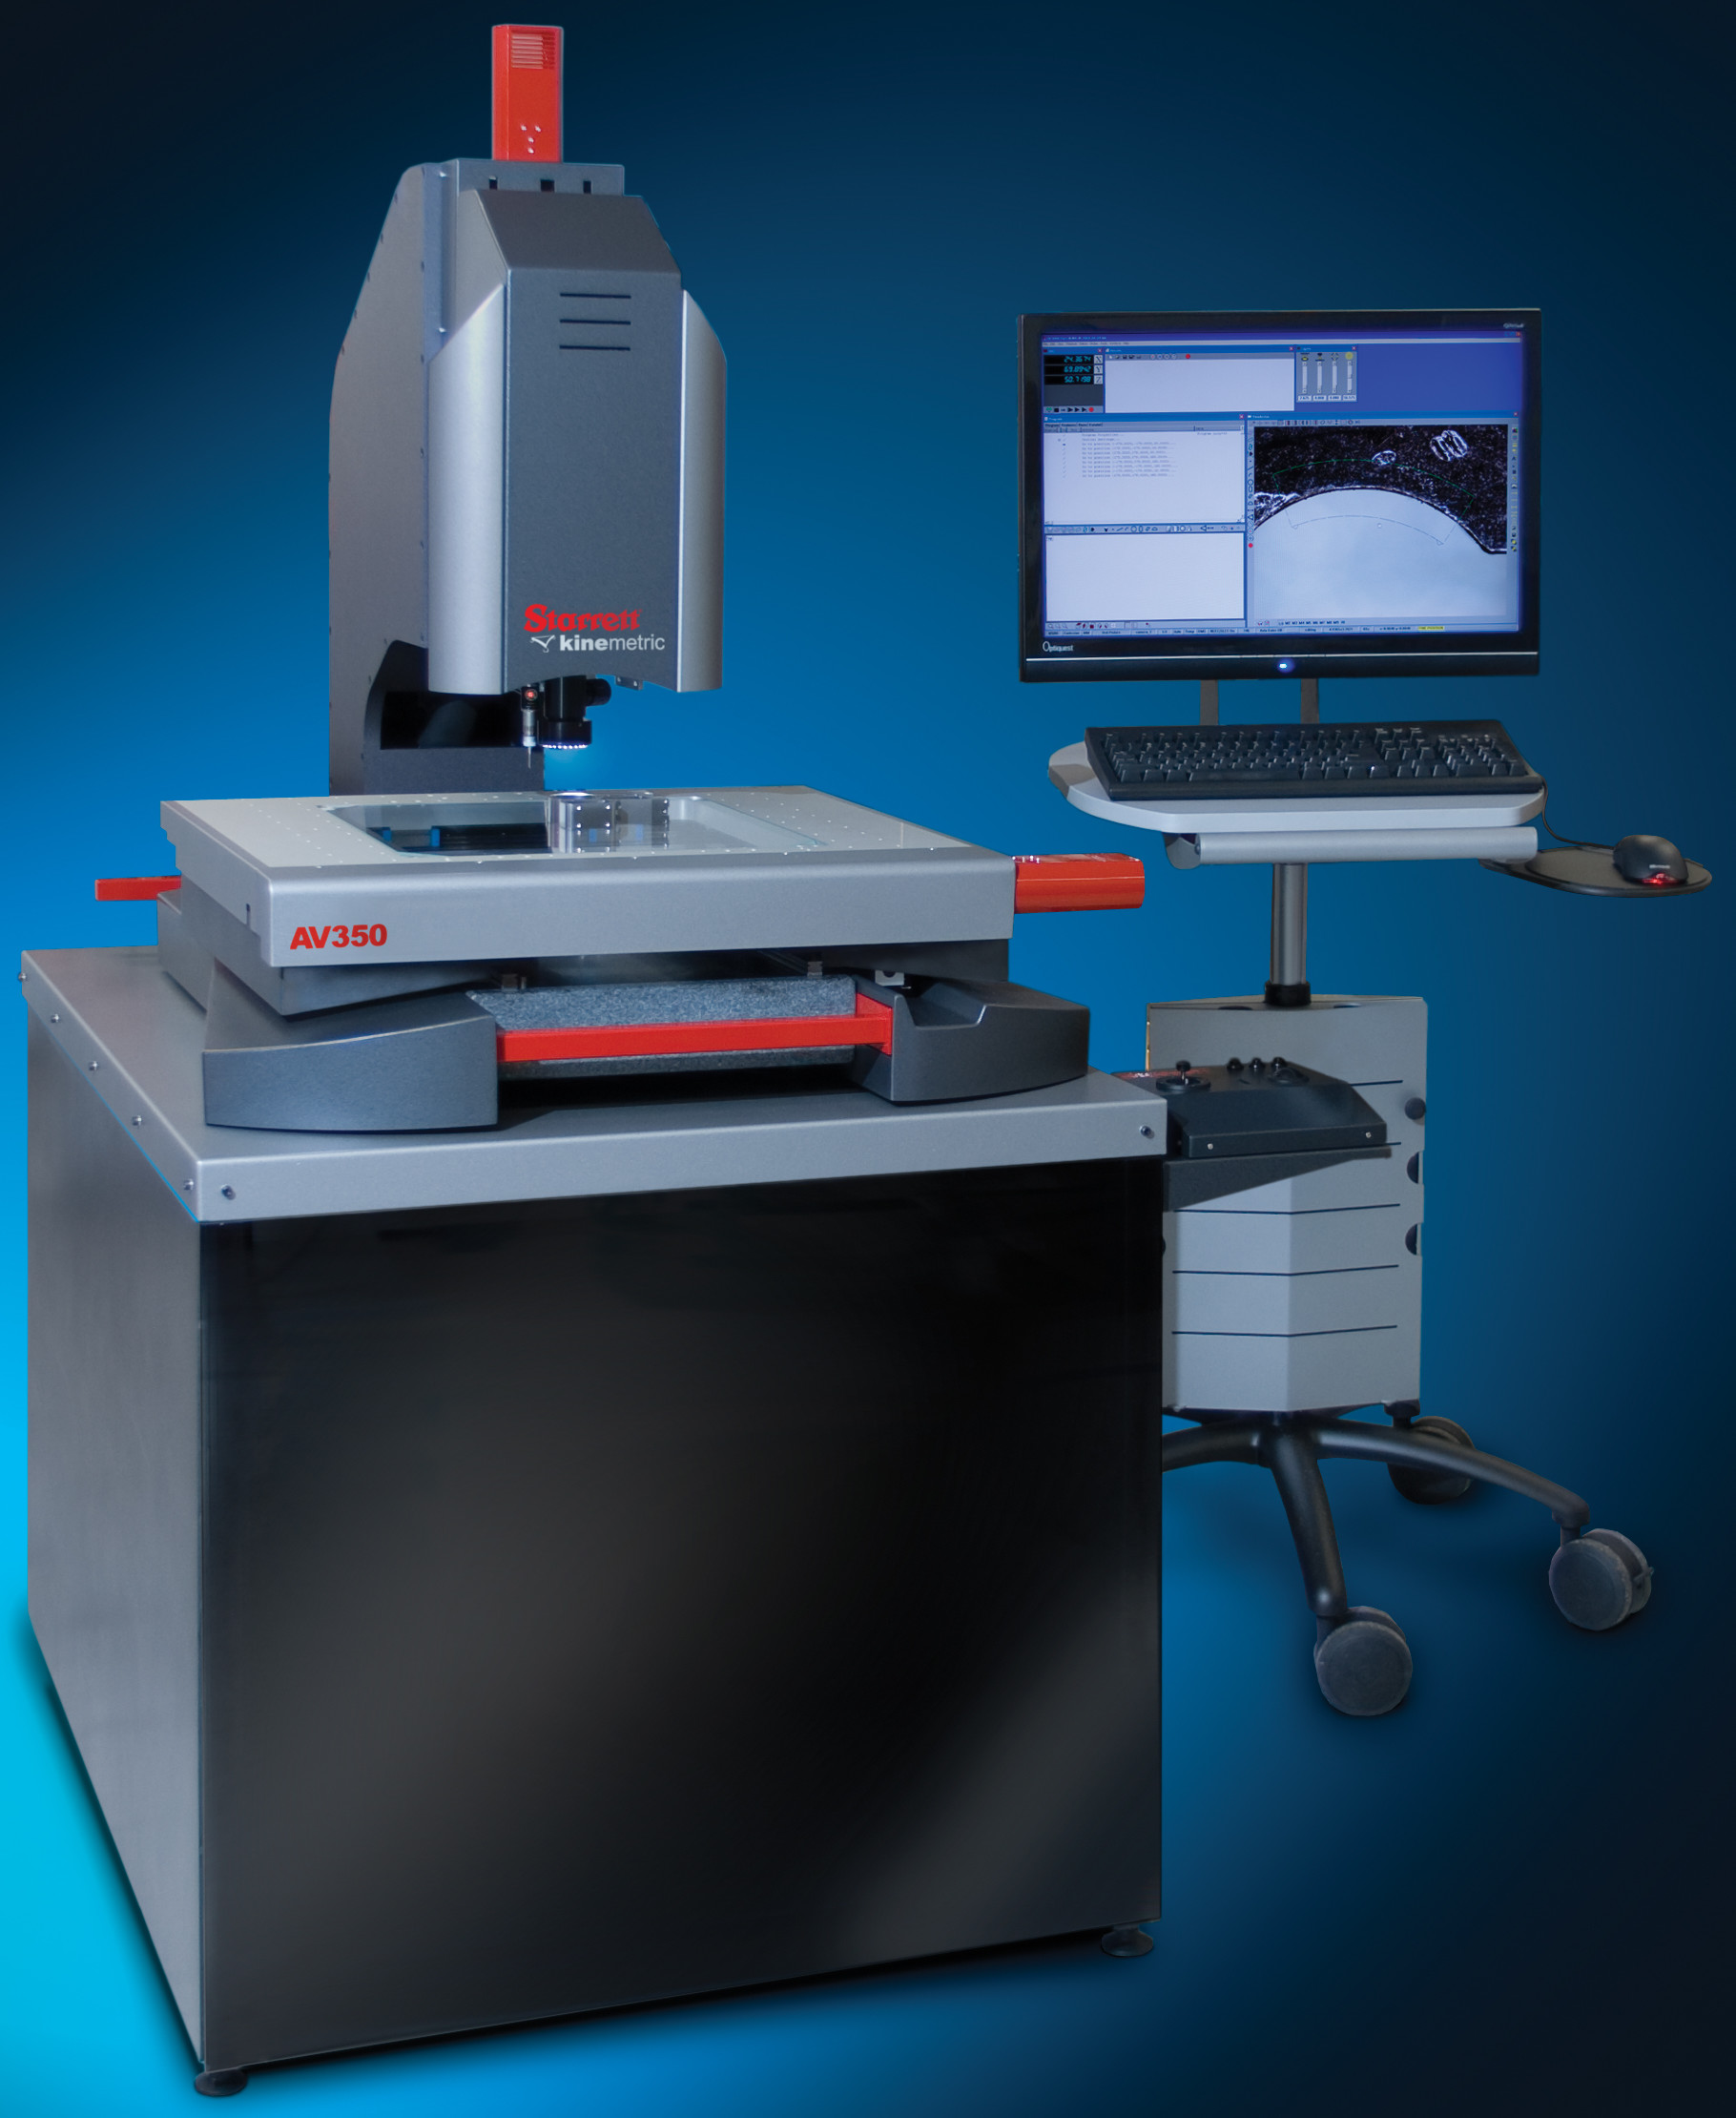
The evolution of non-contact inspection has created the “vision metrology” field that exists today. Systems are effectively “precision coordinate positioning platforms” that can utilize a variety of sensor technologies from zoom optics and video, to lasers and touch probes.
These are more commonly known as “multi-sensor” systems that are very flexible and enable shops to do a variety of measurement work with one system. They do, however require a higher level of training.
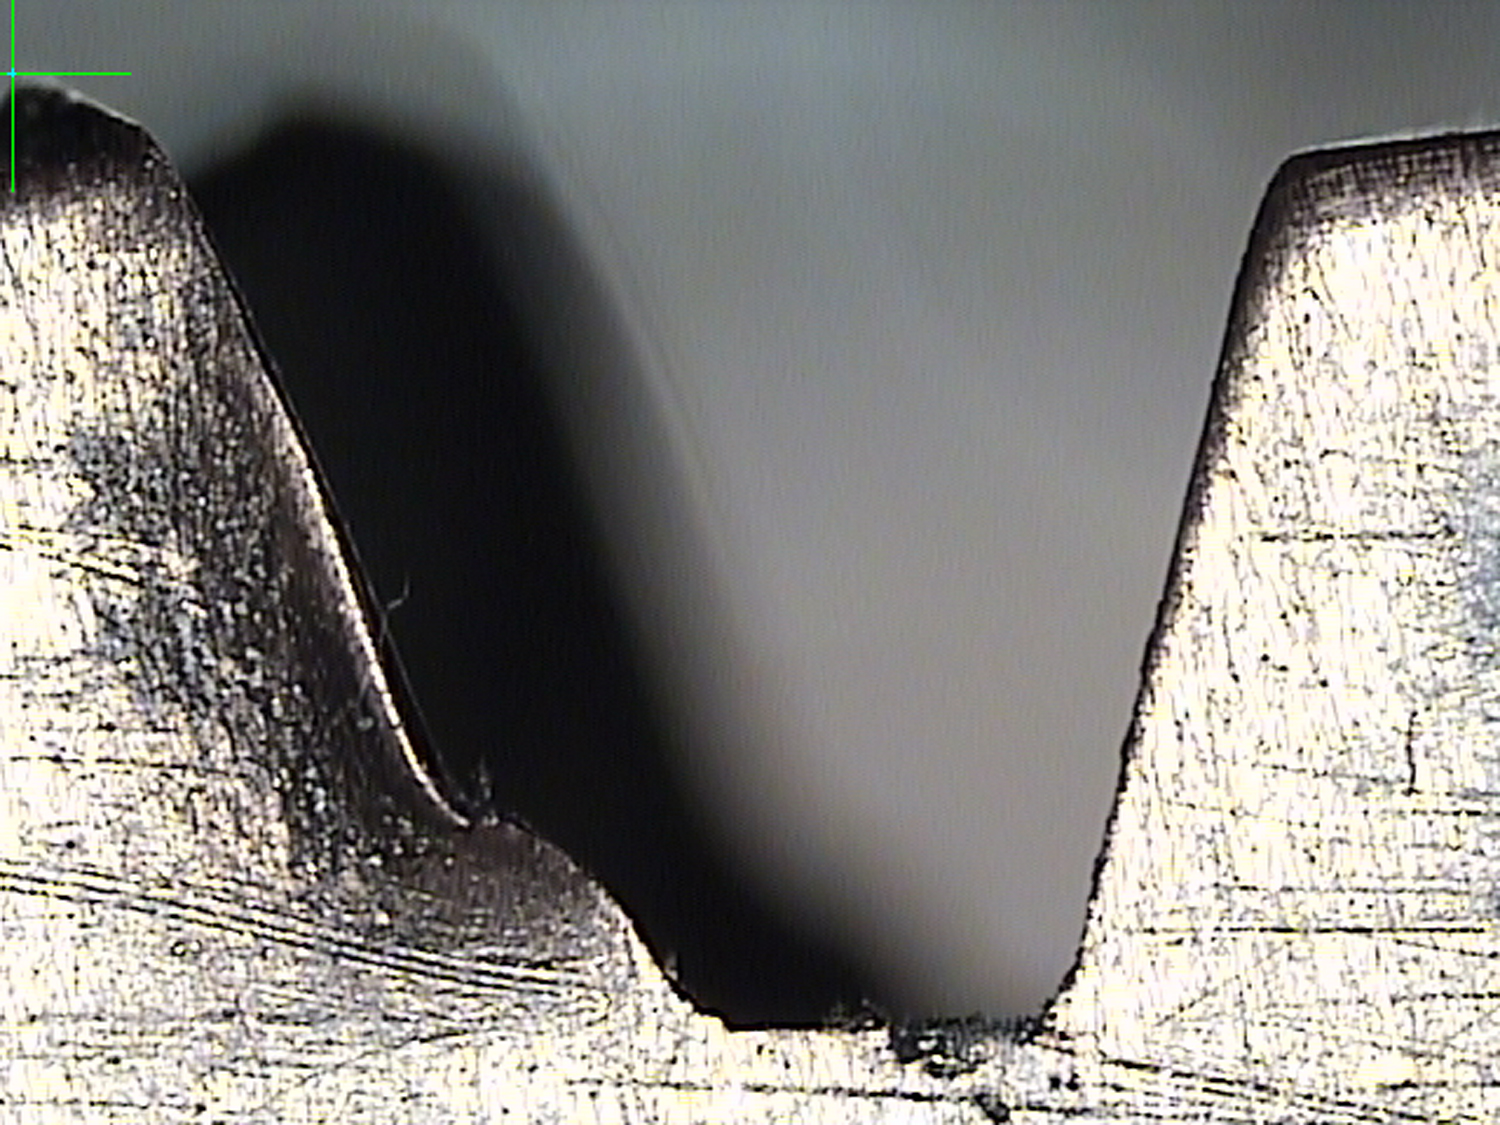
For parts with complex contoured 3D features, laser sensing can be a good choice because it provides an extensive set of data points that more precisely define a complex shape. A touch probe can work well for larger parts with many recesses. However when a touch probe will not reach critical areas, and/or when fine detail and magnification is essential, video is the best solution.
Size is also an important variable. For small or delicate parts, the most efficient means of sensing is usually non-contact. With large parts such as features on an aircraft wing spar, a touch probe is a better candidate. These large format, extended travel video measurement systems are best for working with large, flat or flexible parts.
If a shop has a coordinate measuring machine (CMM) and requires performance enhancements, they could consider optimizing their current system with a optical-video adaptor. These adaptors can easily transform a CMM into a contact/non-contact measuring inspection system in minutes.
One good example of this is a manufacturer with a CMM that produces illuminated displays for aircraft. Their challenge was to effectively measure and inspect parts that go into an instrument display assembly. Most of the components are large, flat, soft and flexible, making them difficult to handle and measure with traditional contact methods.
The shop also wanted to minimize its budget impact of purchasing a new piece of equipment. An excellent solution was to add an optical-video head designed to be mounted on the Z-Ram of a CMM. By adding the optical-video head, the required functionality was available for this application and the transformed CMM became more fully utilized.
TAKING THE LONG VIEW
Video measurement applications will continue to evolve at a steady pace in the future, so it always behooves users to stay abreast of the latest technological advances. In general, expect more intuitive systems that require minimal measurement programming, systems with higher resolution field of view measuring capabilities and an increase in automated inspection solutions.
These solutions are a clear outgrowth of the industry’s trend toward inspection of more complex miniature components, the need to remove operator error or subjectivity and to increase accuracy and throughput volume.
From microscopes to vision and multi-sensor systems and even custom solutions utilizing hybrid technologies, there are many ways to apply video/optical measurement and inspection. The key is to evaluate your options carefully and be sure to access appropriate sources that possess the technology, knowledge and expertise to properly guide you to the most effective solution.

