Advances in 3D Metrology and Automation
A review of some of the current advances and application capabilities in measurement and inspection technologies.
Posted: November 7, 2014
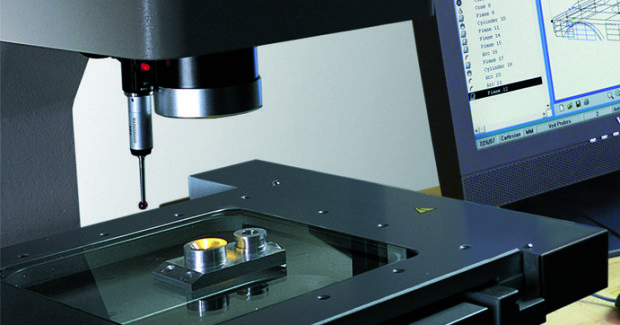
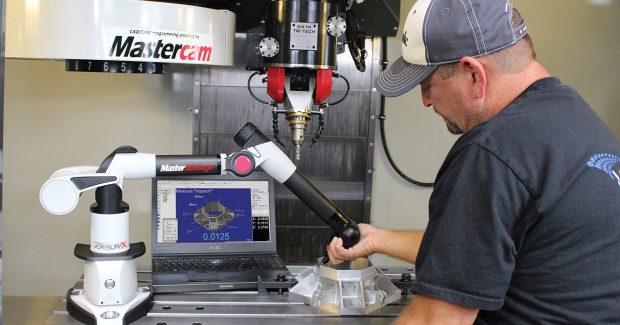
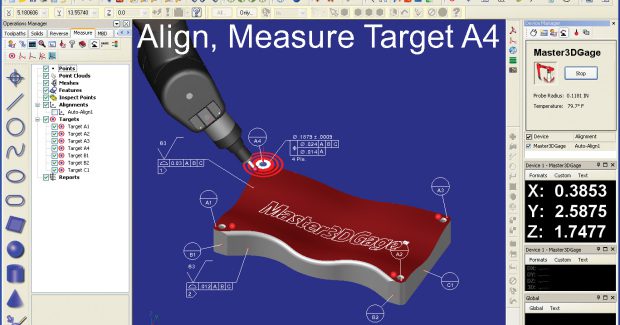
A one-click “QuickAlign” capability selects valid combinations of one, two, or three features to create a quick alignment. This feature also initiates manual and DCC alignments when used at the beginning of a part program. These new productivity tools are packaged in a QuickMeasure toolbar that gives drop-down access to common measurement features and provides more screen real estate to the graphics and the measurement routine.
This software includes Copy Parameters and Paste Parameters functions that copy parameters from one feature or dimension and paste them to another feature(s) or dimension(s) in the Edit window, making block changes much faster. PC-DMIS 2014 also rolls out a new Mini Routines feature which can be used to measure a selected dimension or group of dimensions from a long part program. Mini routines offer characteristic-based measurement and the ability to measure a part of a complete measurement routine.
Hexagon Metrology offers a comprehensive range of products and services for all industrial metrology applications in sectors such as automotive, aerospace, energy and medical, support customers with actionable measurement information along the complete life cycle of a product: from development and design to production, assembly and final inspection.
With more than 20 production facilities and 70 Precision Centers for service and demonstrations, and a network of over 100 distribution partners on five continents, customers are empowered to fully control their manufacturing processes, enhancing the quality of products and increasing efficiency in manufacturing plants around the world.
Hexagon Metrology, Inc., 250 Circuit Drive, North Kingstown, RI 02852, 401-886-2000, Fax: 401-886-2727, www.hexagonmetrology.us.
IMAGE DIMENSION MEASURING SIMPLIFIES INSPECTION OF MULTIPLE PARTS
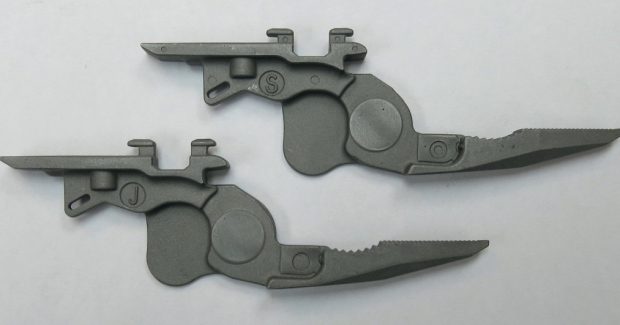
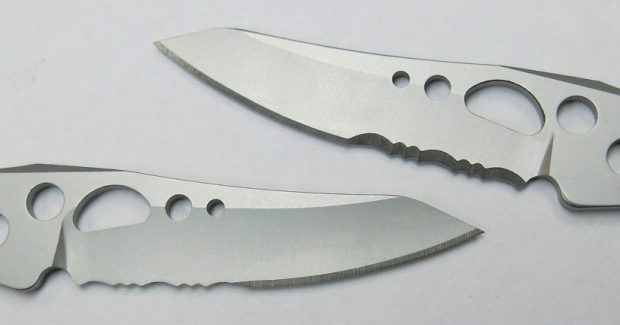
Multi-tools from Leatherman Tool Group Inc. (Portland, OR) may contain screwdrivers, knives, files, and many more useful tools in a single unit. The tools, some small enough to fit on a keychain, are known and loved around the world by everyone from homeowners taking on a weekend project to first responders, military personnel, and even medical professionals.
“We produce a lot of parts from start to finish,” explains Leatherman gauge technician David Knight. “We don’t have a foundry here, so for cast parts we receive blanks and then do the machining. For most of our steel parts, we get rolls of steel, blank and machine them, heat treat them, and then assemble them.” Leatherman uses measuring equipment ranging from micrometers all the way up to a coordinate measuring machine (CMM) to inspect parts at various stages of the process, including sampling of incoming lots, first-article inspection, and production quality assurance.
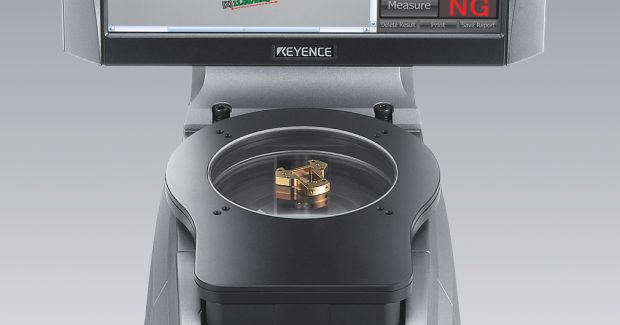
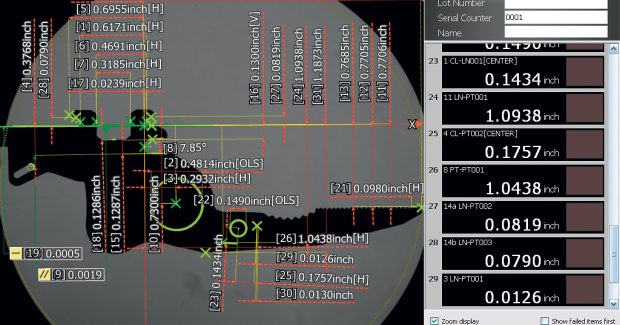
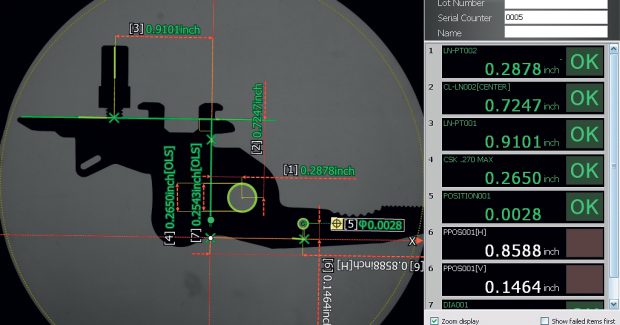
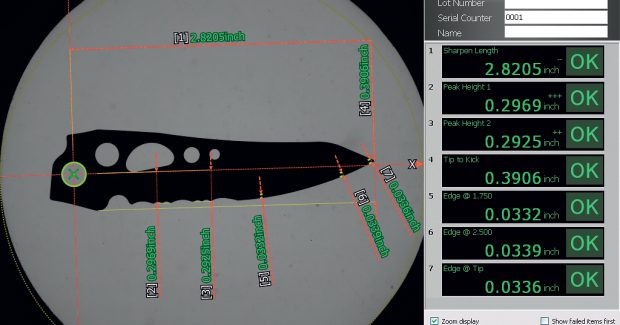
The company recently began using IM series dimensional measurement vision systems from Keyence Corporation of America (Itasca, IL) throughout its plant to quickly and reliably measure multiple features of a wide variety of parts. Users simply place a target part on the IM system’s stage and press the button. The system then automatically measures up to 99 points in a matter of seconds with repeatability of ± 1 micron. The speed, flexibility and ease of programming and use of the IM series systems make them ideal for inspection of Leatherman’s large variety of parts.
“I do a lot of programming for the IM systems and for simple parts I can have a program in ten minutes,” says Knight. “Even for the most complex parts we inspect on the Keyence, I can have a program done and evaluated in an hour or two. We’ve got dozens of programs on our three IM systems that measure up to 50 features on some of our more complex parts. But for me, the best thing about the systems is their production inspection capability. They’re just easy to use. There’s no chance of operator error — operators just place the part on the stage and push the button. No matter who does that they’re going to get the same results in just a few seconds. It’s a big time saver. Knowing that everybody’s going to get the same measurements when they use the system provides peace of mind.”
These systems replaced hard gauging that the shop used for many years to evaluate components for its multi-tools, eliminating cabinets full of hard fixtures built for specific parts. Getting a fixture designed and fabricated in the company’s machine shop could take weeks, but these new systems enable Leatherman to get parts up and running with full inspection capability in a matter of minutes or hours. The systems also easily handle Leatherman’s tolerances, which are important to proper assembly and function of its multi-tools.
“There’s a lot of interaction between the parts we make,” Knight says. “Our parts all have to fit together in one tool, so tolerances are tight, most commonly ± 0.001 in and ± 0.003 in. Hole position tolerances are especially important.” Training shop personnel to program and use these IM systems has also been fast and easy. Knight says operators can be trained in just a few minutes, enabling them to check parts themselves rather than bringing them to the quality department for evaluation.
The location of Leatherman’s three IM systems near machining centers, stamping presses and other production equipment on the shop floor also facilitates first-article inspection, process control and troubleshooting. “We were looking for new technology to improve our measurement capabilities,” notes Knight. “We now have three of these IM systems and we’re looking to add another one with a larger stage next year. The ease of programming and operation of the IM system is the main thing for me. It’s just so easy and accurate, it improves our quality while it eliminates a lot of the training and measurement time.”
Keyence has steadily grown since 1974 to become an innovative leader in the development and manufacturing of automation equipment worldwide, with products consisting of automation sensors, static eliminators, barcode readers, measuring instruments, vision systems, laser markers, and digital microscopes.
Keyence Corporation of America, 1100 North Arlington Heights Road, Suite 210, Itasca, IL 60143, 888-539-3623, Fax: 201-930-0099, marketing@keyence.com, www.keyence.com/LMIM.


