Advanced Micro-Hardness Testing
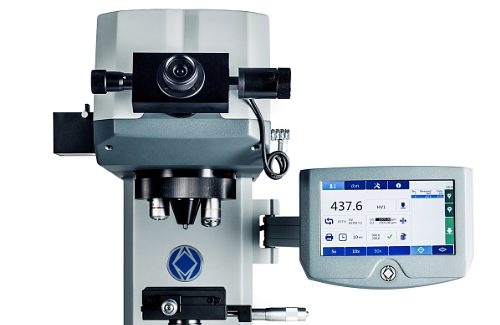
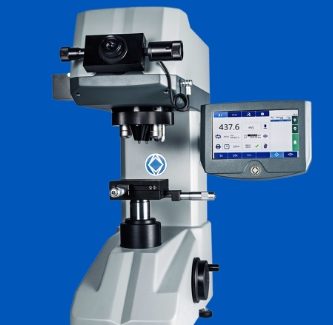
With no user intervention, Wilson VH1102 and VH1202 universal micro-hardness testers from Buehler provide flexible, cost-efficient and reliable Knoop and Vickers testing with high precision and repeatability within a minimum of time.
Posted: May 23, 2016
Buehler (Lake Bluff, IL), a division of Illinois Tool Works Inc. (Glenview, IL), has introduced Wilson® VH1102 and VH1202 universal micro-hardness testers to meet the highest accuracy standards and be used both in quality control and research and development. These instruments feature deadweight loads from 10 g up to 2 kg and nine different automatically selectable loading stages. The VH1102 and VH1202 universal hardness testers offer a flexible, cost-efficient and reliable solution for Knoop and Vickers micro-hardness testing in accordance with ISO 6507, 9385 and 4546 or ASTM E384 and E92.
Both models feature an ergonomic, adjustable 7 in color touchscreen for rapid test method selection and data collection. Each system is highly intuitive to use and can be operated by less extensively trained staff after a brief period of training. The wide load range with test scales from HV/HK0.01 to HV/HK2 is the same for both models. The usual knob for manual selection of test weights has been replaced by a durable, software-controlled electric motor to automatically change test weights, thereby providing a level of operator convenience on the new micro hardness testers which is normally found only on higher-end instruments.
The two testers differ with regard to their electrically driven, high-speed, low-noise turret. The VH1102 model is equipped with a turret providing four positions, including an indenter for Knoop or Vickers and two standard objectives for 10X and 50X magnification at normal working distance. The VH1202 unit is equipped with a six-position turret, including two indenters for both Knoop and Vickers and an additional objective with 5X magnification at long working distance. On both models, the turret is set to the magnification selected on the touch screen by simply pushing the start button.
These Wilson hardness testers can be configured to meet a wide range of requirements, from a stand-alone version for use in laboratories with a relatively low sample volume, up to a fully equipped system catering for high sample volumes in an industrial environment.
- The standard model includes a digital eyepiece for manual indent measurement, including camera connection capability and a USB port enabling data to be exported for further processing with a standard spreadsheet program.
- The semi-automatic version supports presetting of simple traverses for determining the hardening depth on surface-hardened components (CHD) and eliminates the ‘human factor’ by automatically measuring the indents.
- The fully featured version includes, in addition to a high-resolution camera, a 3-axial sample stage and autofocus, along with the recently upgraded DiaMet™ hardness testing software.
Both systems are capable of automatically handling and documenting hundreds of indents without any user intervention, with high precision and repeatability within a minimum of time. These are part of a product portfolio that comprises a full range of other Rockwell, Vickers/Knoop, Brinell and universal hardness testers with numerous options for automation in primary metals, automotive, aerospace and defense, electronics, medical, energy and other applications.
Buehler, 41 Waukegan Road, Lake Bluff, IL 60044, 847-395-6500, custserv@buehler.com, www.buehler.com.


