Take Care of Tool Holders, Prevent Cycle Disruption
There are three particularly sensitive areas of the tool holder assembly that can experience process-affecting wear and tear and cause a cycle to change. By identifying and addressing issues early in these areas, you can prevent small tool holding imperfections from turning into bigger problems.
Posted: July 27, 2016
You’ve got a brand new setup working on the floor. You’ve invested in new holders, cutters. The job’s been expertly engineered and programmed. Everything is going smoothly. Then, suddenly, something starts changing and nobody knows exactly why. All the fundamentals are the same: material, machine, tooling, temperature, etc.
What gives?
There’s a good chance the issue is with a tool holder system, one of its small, hard-to-reach, often-overlooked nooks or crannies. While I understand it can be time-consuming to clean and maintain holders, doing so is critical to long-term process control. If you treat holders and accessories right, both in and out of assembly, not only will their performance improve, but overall costs will be reduced by avoiding costly spindle repairs and tool breakage. Proper use and maintenance is especially important for three particular areas of the assembly that can experience process-affecting wear and tear: pull studs, collets/nuts and the tool holder taper. Let’s examine these so you can identify and address issues early to prevent small tool holding imperfections from turning into bigger problems.
PULL STUDS
I’ve visited shops of all shapes and sizes for more than 15 years and I’m still amazed by how often I see buckets of pull studs sitting around. Though small commodities, as the single component that keeps a holder in the spindle – weathering up to 7,500 lb of load in 50-taper arrangements – pull studs are critical to protecting both your people and machinery. If you’ve ever experienced a break, you know how scary and dangerous it can be. What’s more, if that tool comes out it’s going to damage the spindle, resulting in necessary repairs that can easily exceed $50,000.
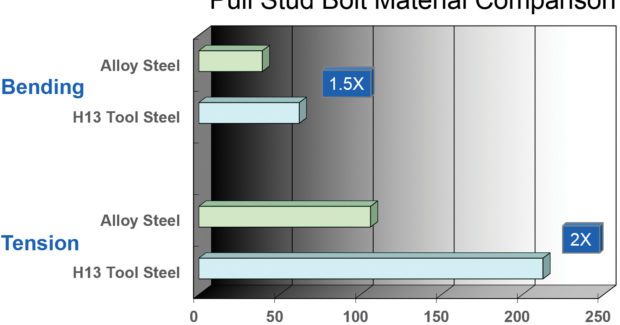
As with any metal-on-metal contact, one is the wear part. In a tool holder setting, the backside of the pull stud assumes this role. Depending on the collet type, repetitive ATC (automatic tool change) can cause dents that lead to stress risers and potentially breakage. A testament to how important this is to consistent performance is that we’ve actually changed all of our smaller-taper knobs to a high-purity tool steel. Regardless of the type of pull stud you’re using, we recommend inspecting them every time you change the cutting tool, both for wear and to make sure they aren’t loosening. Get the bad ones out immediately or you’ll begin to see effects throughout the interface and the workpiece. Pull studs generally last about three years, so finding a way to track them, whether you use studs manufactured with date coding or develop a system of your own, is very helpful.
Finally, in addition to helping to maintain a consistent form longer, installing pull studs correctly ensures the taper won’t bulge at the end and disrupt spindle contact. Use a removable thread locker and a torque wrench, but definitely not a cheater bar or hammer. Torque recommendations are:
- 30-taper: 18-22 ft-lb
- 40-taper: 55-65 ft-lb
- 50-taper: 100-120 ft-lb
COLLETS/NUTS
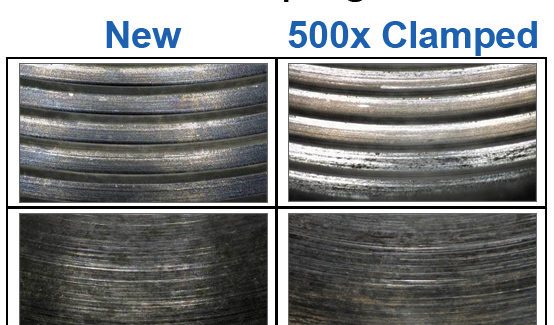
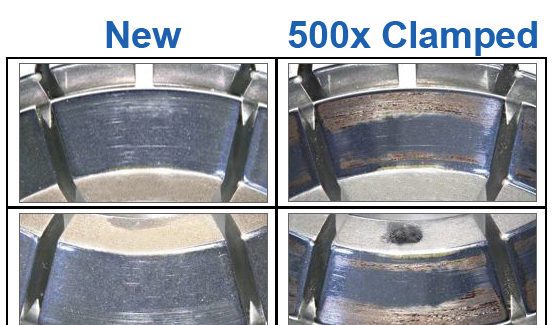
When it comes to a traditional setup like solid clamping nuts with an ER style collet, it’s all about friction. Collets and nuts are wear products too. The repeated twisting and sliding of the nut on the collet during clamping adds up. Likewise, since the nut’s threads are what’s actually pulling, the coating of the thread that helps maintain the proper relationship between the two can deteriorate. What’s the big deal, you ask? The nut and collet connection directly impacts runout and gripping force – becoming other potential culprits of those unexpected, hard-to-explain changes in a cycle’s performance. In testing, we found that after 500 clampings with a solid ER nut, runout accuracy changes by about 35 percent – that 12xD drill you’re using is now off center. We also found after 500 clampings that gripping force can decrease up to 50 percent, increasing the chances of tool breakage. And the price of carbide is only going up.
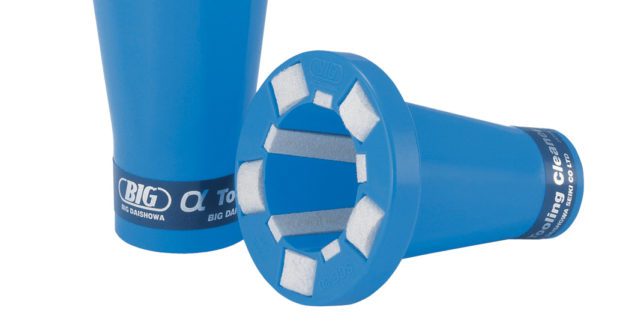
The best way to prevent these issues is pretty simple: keep them clean. I recommend an ultrasonic tank with a precision part cleaner. A small bench-top tank is great for removing swarf, particles, coolant residue and oil. Immediately after cleaning, dip them in rust-preventative oil – the longer the planned storage period, the heavier the oil. Since you must only ever work with a clean, dry collet, give them one more cleaning before returning them into cycle. This cleaning method is not, however, recommended for bearing nuts since cleaning fluid can get caught in the bearings and cause premature failure. Then again, their design in and of itself addresses most of these common to ER styles.
THE TAPER
The longer I wear a shoe the more it reshapes to adapt to my foot. Spindles and holders aren’t much different. The problem for machinists is that holders rarely stay paired with the same spindle. As such, trauma on a holder or spindle – dings, scratches, gouges, etc. – can magnify quickly. One bad holder can spread its problems like an illness. I’ve said it twice, I’ll say it again, if you’re seeing disruptions like these on your holders, get them out of the rotation. For the sake of this discussion, I’ll address the most common type of taper wear – fretting – the thin, rust-looking build-up that appears over time. Interestingly, it’s not actually oxidation due to exposure; rather, it’s caused by micro vibrations that push oil off the contact points resulting in metal-to-metal rub. Need another reason to get bad holders out of play?
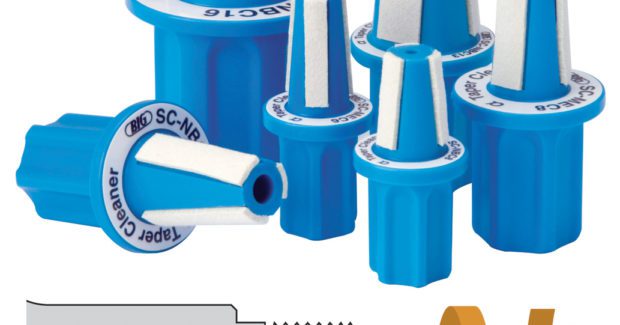
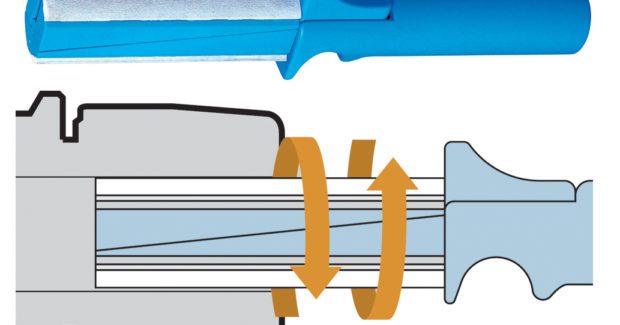
Well here it is: if there’s fretting on the taper, you can bet it’s on the spindle. The good news is that we know this is almost always caused by pushing the tools too hard for the machine, fixturing or workpiece. If you see fretting, I advise reevaluating your processes and dialing back to the proper specifications for each part of the process. As with collets and nuts, proper and thorough cleaning, with taper and spindle cleaners, also helps prevent fretting and other damage from starting in the first place. That said, an easy way to nip this in the bud is with a dual-contact interface that will all but eliminate the root cause of fretting: micro vibrations.
Of course, every part of the tool holding assembly wears in one way or another, which speaks further to the importance of proper maintenance and use, but these three areas are especially sensitive. So when a cycle mysteriously changes, don’t overlook these three parts of the holder assembly. Better yet, instead of waiting for the “we aren’t sure what’s going on” stage, take care of your holders.

