How to Measure All Six Degrees of Freedom from One Set-Up in Any Orientation
The XM-60 multi-axis calibrator from Renishaw quickly measures machine errors directly before and after machine adjustments to reduce the inaccuracies that can result from complex mathematics used in some alternative measurement techniques.
Posted: March 30, 2017
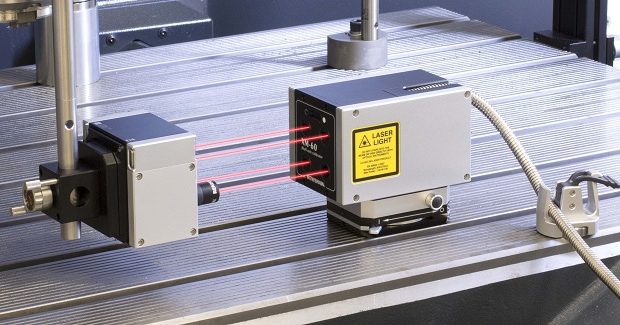
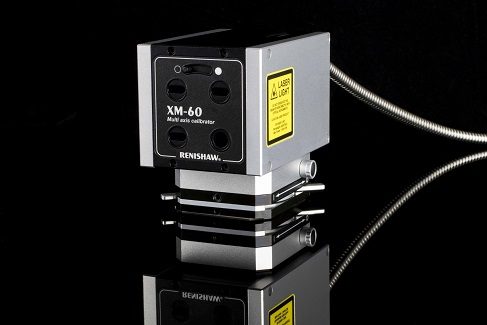
As demands on component tolerances increase, manufacturers are now required to consider all error sources from the machines producing parts; angular errors as well as linear and straightness errors. The new XM-60 multi-axis calibrator from Renishaw Inc. (West Dundee, IL) is capable of measuring all six degrees of freedom from a single set-up, in any orientation for linear axes. It offers significant improvement in simplicity and time saving over conventional laser measurement techniques. The XM-60 captures all these errors in a single set-up. Designed for the machine tool market, this multi-axis calibrator complements the XL-80 laser system, XR20-W rotary axis calibrator and QC20-W wireless ballbar. The XM-60 uses the XC-80 environmental compensator to correct for environmental conditions.
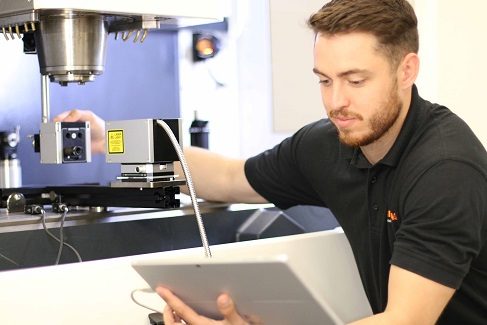
The XM-60 multi-axis calibrator provides a highly accurate laser system that incorporates unique technology with a patented optical roll measurement and fiber optic launch system. The compact launch unit is remote from the laser unit, reducing heat effects at the point of measurement. It can be mounted directly to the machine on its side, upside down and even on its back, which is particularly beneficial in areas with difficult machine access. Reducing uncertainties of measurement is paramount for any user. This multi-axis calibrator has been designed to measure machine errors directly, reducing the inaccuracies that can result from complex mathematics used in some alternative measurement techniques. Direct measurement makes comparison before and after machine adjustments a quick and simple task with users’ existing part programs for XL-80 measurement.
The receiver is fully wireless and powered by rechargeable batteries, avoiding trailing cables during machine moves that could cause inaccuracies or break the laser beam during measurement. The performance of each XM-60 multi-axis calibrator is traceable to international standards and every unit is also certified before shipment. This provides users with the confidence that their system will deliver the specified accuracy day-after-day where it counts: in the workplace.
Renishaw Inc., 1001 Wesemann Drive, West Dundee, IL 60118, 847-286-9953, www.renishaw.com.


