Deep Etching with a 2D Fiber Laser
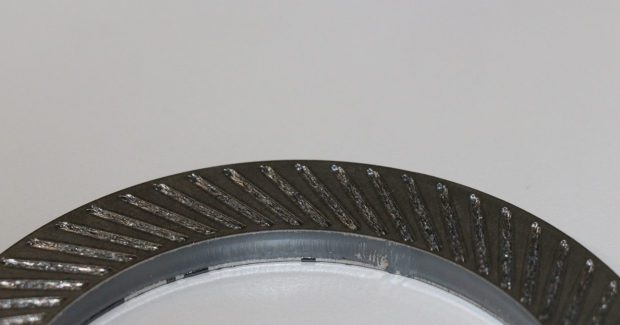
Laser etching is a useful tool, but its limits as a light surface effect are apparent when a part number needs to be visible through paint or a powder coat. In these cases, deep etching can provide a simple solution – the trick is finding the right combination of hertz, laser wattage, focal diameter, and gas for your specific material.
Posted: May 23, 2017
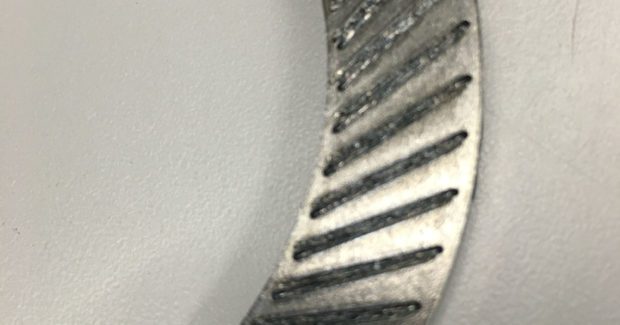
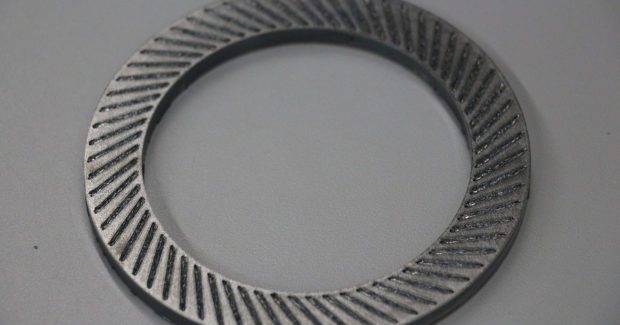
In the laser industry, part marking or laser etching is a very common practice that is frequently used for artistic details, visual cues for secondary processes like drilling or bending, and marking part names or part numbers. Because this practice is so pervasive, the ability to etch and cut on the same laser can be a significant time saver. By leaving parts on the same machine after cutting and not having to manually move them over to an engraver, you not only save time, but physical effort as well. While laser etching is a useful tool, it does have its limits because it is a light surface effect, and these limitations are apparent when a part number needs to be visible through paint or a powder coat. In this instance, a technique known as deep etching can provide a simple solution provided you have the patience to find the formula for their specific material.
Deep etching with CO2 lasers had been done in the past, but it was slow and the etch wasn’t very deep. Any successful etching required multiple time-consuming passes. The advent of the fiber laser presented the perfect opportunity to find a new solution for the shallow marking problem. Unless one has a thorough understanding of a fiber or disk laser resonator, however, this is a complicated undertaking. The challenge lies in finding the perfect combination of hertz, laser wattage, focal diameter, and gas. One of the first considerations is finding the correct hertz and learning how to control that power. At 600 Hz, the etch is deep, but not deep enough. Increasing the hertz will create a deeper etch, and the resonator is better able to control lower power emitted at certain frequencies. After some trial and error, it appears the sweet spot for this lower power for etching is at 1,200 Hz.
The quality is still lacking at 1,200 Hz and would likely be unreadable if the etch was to be painted, so it is necessary to consider the next variable: focal diameter. The test material was increased to a piece of 3/8 in steel that was thicker than the previous material used for testing the hertz. Using the same parameters above, the mark on the thicker steel was much better. This can be attributed to the larger beam diameter used for these materials. With a focal diameter of 180 µ to 210 µ, the etch becomes cleaner and deeper. When using the new larger focal diameter on a thinner sheet, the result is very encouraging.
Now that laser frequency and focal diameter have been tested, the wattage is another component needed to create a deep etch with a 2D fiber laser. The wattage will vary depending upon the thickness of material to be etched. For most mild steel, 320 watts will work. It is worth noting that in material under 0.25 in there is a tendency for burning on the back of the part. Reducing the power slightly on those materials will remedy this. The correct speed may also vary slightly, but 150 ipm worked well in the testing of mild steel. For stainless steel, 450 watts to 600 watts seemed to be the ideal range depending on thickness, with a speed of 100 ipm.
The final variable is gas. For mild steel, use 0.6 bar to 0.7 bar of oxygen. This may vary depending on the quality of the gas. When etching stainless steel, use approximately 1.2 bar of nitrogen. With mild steel there is some oxide build up in the etching that needs to be removed, but a quick pass with a wire brush will clean it out. Also, drawing the desired lettering, as opposed to using a text font, will render a better result. The etch is much cleaner with single straight segments because there is no pause for turning in a different direction. Additionally, by drawing the text, you can double up on the lines, spacing them half the distance of the beam diameter to get some amazing results. To summarize, to deep etch mild steel, begin with these parameters:
- 150 ipm
- 320 watts
- 1,200 Hz
- 210 µ focal diameter
- 6 bar of O2
To deep etch stainless steel, start with these parameters:
- 100 ipm
- 500 watts
- 1,200 Hz
- 210 µ focal diameter
- 2 bar of N2
After some experimentation with these four variables, this proved to be the formula for deep etching with a 2D fiber laser. It was deep enough to powder coat and still see the etch. Further experimentation with other materials will require different wattage, focal diameter and hertz, but thus far the laser frequency is always the same. The above parameters are only a starting point, but with some determination and a little luck, you can prevail in making a deep etch with a 2D fiber laser.

