Coating Thickness Gauge with Scan Probes for Fast Readings
For field-based dry film coating thickness measurement on ferrous and non-ferrous substrates, the Elcometer 456 Coating Thickness Gauge with Scan Probes from Elcometer can do 140 readings per minute.
Posted: August 27, 2018
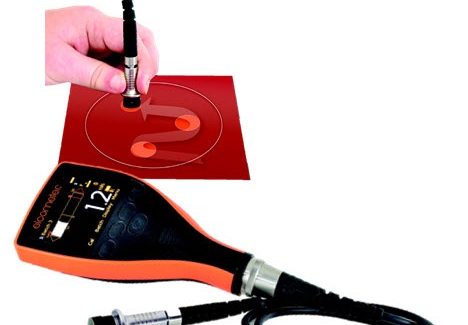
In Booth B-5040, Elcometer, Inc. (Rochester Hills, MI) introduces their new Elcometer 456 Coating Thickness Gauge with Scan Probes. When connected to this latest gauge, the newly developed scan probe has a reading rate (in scan mode) in excess of 140 readings per minute, further enhancing the speed and accuracy of field-based dry film coating thickness measurement on ferrous (F) and non-ferrous (NF) substrates. Each scan probe has been designed to take a ‘snap on’ replaceable end cap, so that the sliding action required to achieve a scan of a coated surface does not cause any wear to the probe tip, crucial to maintaining the accuracy of the probe over its life. Using the patented offset feature of the 456 gauge, the thickness of the cap is excluded from any coating thickness measurement and, as the cap wears during use, this wear effect is also accounted for. The gauge will even display a warning message when the wear cap needs to be replaced.
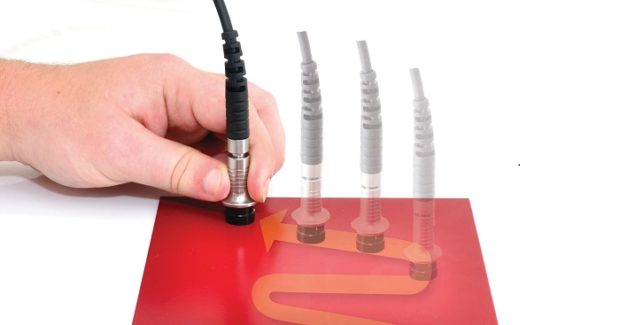
The Elcometer 456 Scan probe can be used in either Scan or Auto Repeat Modes. When selected, Scan Mode allows users to slide the scan probe over the entire surface area. As the probe is lifted off the surface, the gauge not only displays the average coating thickness, but also the highest and lowest coating thickness values over the entire scan. Each set of three readings is then stored into memory, together with the date and time of the scan. The values can also be displayed on the gauge’s display as a run chart. During each scan, the 456 gauge displays the live thickness reading – together with an analogue bar graph that graphically indicates the thickness relative to both the nominal thickness and any user defined thickness limits. Put simply, the user can now just ‘drag’ the probe continuously across a coated item and, upon removing the probe from the surface, glance at the display to see the average, highest and lowest readings, as well as whether they are inside or outside any pre-determined limits, thus providing invaluable and immediate information.
In Auto Repeat Mode, as the probe slides across the surface, more than two readings are taken every second, with each individual reading stored in the memory of the gauge. With a reading rate in excess of 140 readings per minute, the Auto Repeat Mode significantly speeds up the inspection of large areas of coatings which require the recording and analysis of individual film thickness values. In Standard Measurement Mode, the scan probe can take individual coating thickness readings, giving a measurement rate of 70 readings per minute. A recent study by the U.S. Navy’s National Shipbuilding Research Program (NSRP; Summerville, SC) found that by using the features of the Elcometer 456 Coating Thickness Gauge, coating thickness measurement was more than three times faster than their current dry film thickness methods without losing accuracy.
Elcometer Inc., 1893 Rochester Industrial Drive, Rochester Hills, MI 48309-3342, 248-650-0500, www.elcometerusa.com.


