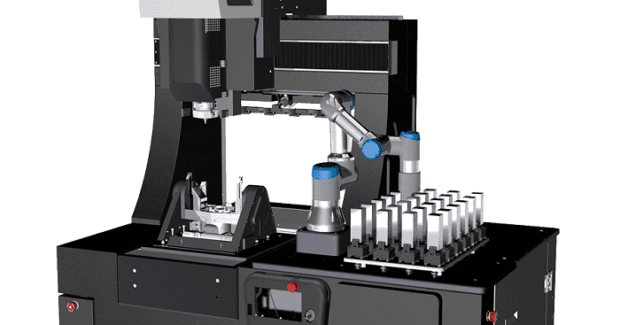
Automated Optical CMM with Cobot
The optical µCMM from Bruker Alicona can measure extremely tight tolerances with high accuracy using a six-axis cobot arm to automatically pick, place, measure and sort (ok/not ok) parts in production.
Posted: October 31, 2019
The µCMM from Bruker Alicona (Itasca, IL) is the first purely optical CMM machine that can measure extremely tight tolerances in high accuracy. It can now use a six-axis cobot arm to automatically pick, place, measure and sort (ok/not ok) parts in production. This system combines advantages from tactile coordinate measuring technology and optical surface measuring technology to measure the dimension, position, shape and roughness of components with only one sensor. The µCMM offers high geometric accuracy of several optical 3D measurements in relation to each other, enabling the measurement of small surface details on large components and precisely determining the position of these individual measurements in relation to each other. The spectrum of measurable surfaces includes all common industrial materials and composites, such as plastics, PCD, CFRP, ceramics, chrome, silicon. Matt to highly polished components are measured in high accuracy, traceability and repeatability.
Operating the µCMM is simple, using single-button solutions, automation and ergonomic control elements through a specially-designed controller. Air-bearing axes with linear drive enable wear-free use and highly accurate, fast measurements. The µCMM can be connected to a Pick & Place system that uses a six-axis cobot arm to automatically pick, place, measure and sort parts, and makes it possible to set up a complete automation process within ten minutes. Pick & Place can also be used in smaller production environments and pays for itself within ten months. The system is based on the interaction between an administrator who pre-defines the automation processes, a cobot that manipulates and places the parts, and high-resolution optical 3D measurement technology for inspecting the parts. A special Automation Manager software interface can connect to ERP and other existing production systems to facilitate adaptive production planning.


