All-in-One Kits for Quality Assurance Using Universal Robots’ UR3e Cobot
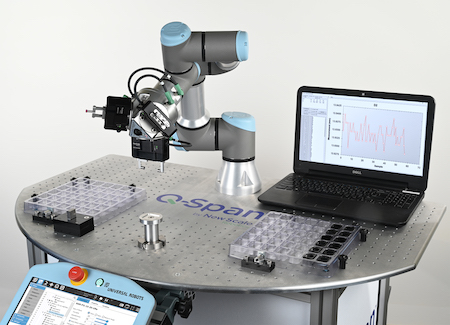
Designed for Universal Robots’ UR3e cobot arm, the Q-Span Workstation from New Scale Robotics comes with everything necessary to automate small-part measurement inspection. You can improve gage R&R and boost capacity without adding headcount.
Posted: February 8, 2021
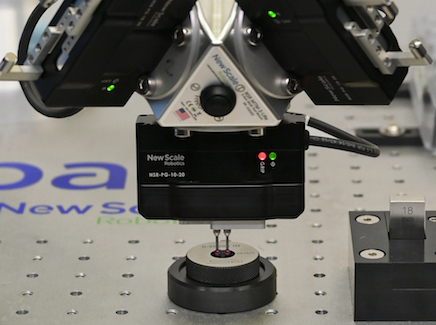
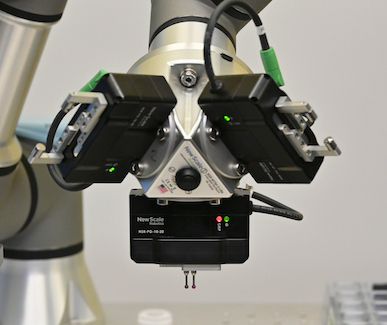
The Q-Span Workstation from New Scale Robotics (Victor, NY) automates inspection of parts up to 3.94 inches (100 mm) and 3.5 ounces (100 grams). Universal Robots’ (UR) only UR+ partner for quality assurance end-of-arm tooling (EAOT), New Scale Robotics’ solution combines robotic digital calipers, robotic grippers, and electronic data capture for real-time decision making and statistical process control.
The solution is available as a UR-certified application kit for the UR3e cobot arm with example parts, trays, programs, and standard metrology fingers or as a fully configured custom solution with hardware and programs developed by New Scale for a manufacturer’s particular parts and processes. New Scale provides a free part correlation study and verification report to qualify the system will meet measurement requirements.
Solutions include delivery, installation, and training. Return on investment is usually less than 10 months.
Ideal for high-mix, low-volume manufacturing, the kits:
- Pick, measure, and place small parts with one robotic workstation
- Measure multiple dimensions in rapid succession using up to three gripper/calipers on one robot
- Sort parts based on measurements (pass/fail, bin)
- Install and quickly change over to measure different parts
- Provide 0.0001-inch (2.5 μm) resolution, < 0.0002-inch (5 μm) repeatability, and < 0.0006-inch (15 μm) accuracy.
Ask for a white paper that explains how the company measures and validates customer parts and demonstrates correlation with the customer’s measurement method.


