Tips for Overcoming Six Common Surface Grinding and Cutting Problems
Save money and time by selecting the proper abrasive designed for the type of thickness and material, as well as application requirements, for the job at hand.
Posted: October 18, 2021
SURFACE CONDITIONING
By Tony Hufford
Metal cutting and grinding are crucial parts of many fabrication and manufacturing operations, but common challenges can cost time and money — and pose safety risks.
There are many abrasive products that can help get the job done right and safely. Understanding how to choose the proper abrasive for the job and following some key best practices can help operators overcome many of the common issues they encounter.
Listed below are six challenges in cutting and grinding and tips for addressing them.
1. Using the wrong abrasive
When an operator is using the wrong abrasive for the job, it’s often because that product has always been used in the operation. They may not know there are better options available. Using the wrong abrasive for the job can affect productivity and efficiency and increase safety hazards. If an operator is “making do” with the wrong product, they might modify their technique or the product to get the results they want — but at a risk. For example, if an operator chips a grinding wheel in an effort to improve performance, it can cause the wheel to break apart and pose a safety hazard.
There are many types of abrasive products available in different styles and sizes. Not all grinding or cutting wheels are right for every job; some are designed for specific applications or materials. Understanding the differences among abrasives and what they are designed for goes a long way toward solving performance issues and optimizing efficiency. When choosing an abrasive, consider the application, material type, space constraints, tool being used and power available. For example, on a right-angle grinder you should never use an abrasive wheel that does not fit under the tool guard, which would cause a user to remove the guard to mount it on the tool. In addition, always make sure the rpm rating of the product meets or exceeds the rating of the tool. Do not use a cutting wheel to “feather,” the common term for light grinding or deburring with the same wheel that is used to cut.
2. Not matching the product to the material
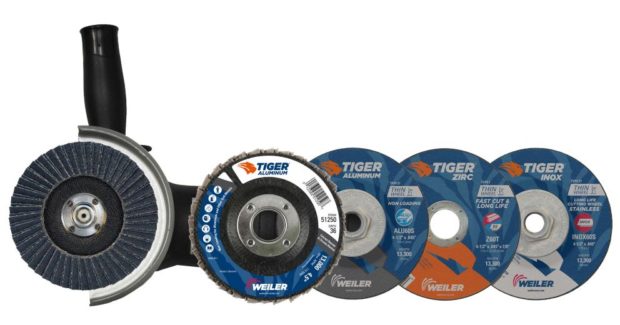
Three commonly used materials in fabrication and manufacturing are carbon steel, stainless steel and aluminum. Stainless steel and aluminum typically pose more challenges for cutting and grinding. It’s important to avoid cross-contamination when cutting or grinding these materials. Look for abrasive products designed for use with stainless steel or aluminum that are marked as contaminant-free, and don’t use a product on these materials that was previously used on steel. Doing so can introduce contaminants and create surface rust to appear, even though the abrasive itself is designed for that particular material.
Also be aware that too much heat buildup during grinding on stainless steel can cause heat discoloration that may need to be ground out or require a costly secondary process. Another common challenge is specific to aluminum, which has a lower melting point than steel. During grinding or cutting it can gum up or load and adhere to the abrasive. To avoid this, choose a cutting or grinding wheel that is labeled as being specifically designed for aluminum. Not only will this abrasive be contaminant-free, but it will also be produced with a formulation to help eliminate loading, which usually causes the operator to want to press harder — reducing efficiency.
3. Reaching hard-to-access welds or spaces
Whether grinding a fillet weld or a butt weld in a confined area, different weld types and space constraints can result in different challenges for cutting and grinding. A butt weld is often easier if there are no space constraints for getting an abrasive to the weld joint. However, it becomes much more challenging if there are obstacles or tight areas to contend with. Fillet welds can be more challenging because the joint is typically a 90-degree angle. Many abrasive products won’t fit into that space or if they do fit, they won’t work efficiently. For grinding a fillet weld, look for a product with a curvature, like a flap disc designed specifically for fillet welds or a Type 16 abrasive cone sized to the space. These types of smaller abrasives — cones, plugs, blending discs, small diameter cutting wheels or mini flap discs — can also be used to cut and grind in hard-to-reach spaces. The space available also impacts tool choice. In many cases a right-angle grinder won’t fit well into a tight corner, so a straight die grinder or a cutting tool with an abrasive may be a better choice. A good rule of thumb for speed and efficiency is to use the largest abrasive product and tool possible for the space to get the job done efficiently.
4. Grinding the root pass in multipass welds
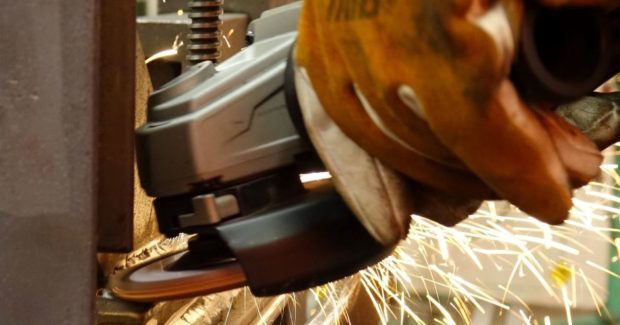
Getting the proper results when grinding the root (or bead) during multipass welding applications can be a challenge. The root pass is often grinded while still hot, which can cause glazing on the abrasive wheel. In this situation, never chip or notch a grinding wheel in an attempt to reduce glazing. This can cause the wheel to break apart and become a safety hazard. Instead, look for a product specifically designed for grinding hot welds. Also remember that not all grinding wheels are created equal. Due to the space constraint of the typical V groove in multipass welding and the fact that the root is always the first pass and deep in the V, 1/8-inch-thick grinding wheels are often used. It is important to look for a product that is specifically designed to handle the notching and typical grinding that needs to be accomplished during multipass welding. This will be indicated on the wheel. Not understanding the differences of these wheels can turn into a safety concern without the operator knowing it.
5. Getting the right cut depth with cutting wheels
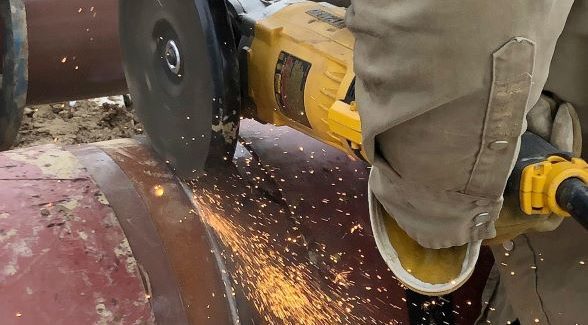
Cutting wheels are available in several options: a Type 27 wheel has a depressed center, while a Type 1 wheel is flat. The depth of the cut is a key factor in determining which type of wheel to use. Depth of cut typically isn’t an issue when using a Type 1 wheel, but the raised hub of a Type 27 wheel can wear or even break if an operator goes too deep into the cut with it. Use the largest diameter cutting wheel possible for the job but be sure to consider the product design and workpiece to get the right depth of cut for the material thickness.
6. Cutting thicker material
It’s recommended to use a thicker cutting wheel to cut thicker material. Cutting wheels are not one size fits all. There are many wheel thicknesses available — 1 millimeter to 3/32 inch are very common. A thinner wheel may be faster, but it often won’t provide good product life for cutting thicker workpieces, resulting in more product changeover.
ADDRESSING CUTTING AND GRINDING PROBLEMS
Change can be difficult. But considering if the cutting and grinding abrasive is the right one for the job is often the first step in troubleshooting common challenges and issues in metal finishing. Using an abrasive designed for the type and thickness of material as well as the application requirements can help save time and money in cutting and grinding.


