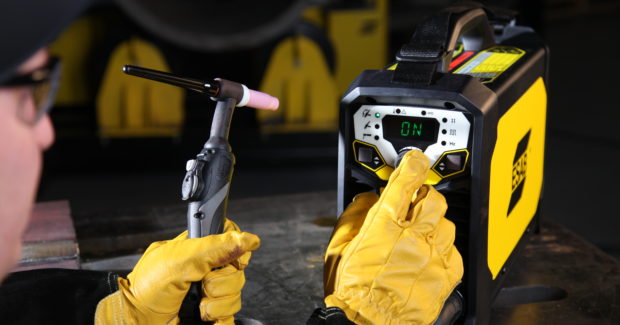
Ready for a TIG Welding Upgrade?
Step up to one welder with features such as high frequency arc starts, a pulsed TIG welding output and full weld sequence controls. Professional-grade welders now include pulsed TIG functions that cost about $2,000.
Posted: February 22, 2022
Fabricators add gas tungsten arc (TIG) welding capabilities because it offers precise control over weld bead placement and heat input. A TIG welder with a direct current (DC) output can produce a clean, high-quality and spatter-free weld on a wide variety of alloys, including steel, stainless, chrome-moly and titanium. Fabricators also step up to TIG so they can take on jobs that require TIG to meet welding codes and weld procedure specifications, such as those for process pipe, aerospace, medical, food/beverage, sheet metal and electronics.
Historically, obtaining the benefits of a professional-grade TIG output meant spending $5,000 or more. It still does for higher-output industrial units, but fabricators working in light- to medium-duty and mobile applications now have surprisingly affordable alternatives. For anyone who wants TIG capabilities but does not want to break the bank, here’s why you should skip over units with entry-level functionality and consider one welder with features such as high frequency (HF) arc starts, a pulsed TIG welding output and full weld sequence controls.
Arc Start Options
The TIG and Stick welding processes both require a constant current (CC) output, and manufacturers offer machines with both capabilities. However, there are critical differences between a TIG welder that can also Stick weld and Stick welder that has a TIG output, and it begins with arc starts.
Welders in the “Stick/TIG” category have an arc start method that requires touching the electrode to the work piece. With the old-school (or low budget) scratch start method, the operator scratches the tungsten against the workpiece like a match. Inexperienced or less-skilled welders will likely stick the electrode to the work or break off the tip of the tungsten. This can cause a weld defect if pieces of the tungsten become included in the weld puddle.
Fortunately, many of today’s inverter-based welders feature an arc start technology called “Lift TIG” (or something similar). With a Lift TIG-type start, the operator touches the tungsten to the workpiece, presses the start button on the torch or remote foot control and lifts the tungsten a fraction of an inch. When the welder senses resistance (the air gap), it initiates the arc. With a quality welder, Lift TIG provides great arc starts. Such units are a good choice for fabricators that primarily Stick weld but also want TIG capabilities for the occasional project. However, Lift TIG still requires touching the electrode to the work, and therefore carries the risk of tungsten inclusion.
To eliminate tungsten inclusions caused by the arc start — and to take on jobs where welding codes and specifications require it — look for a TIG welder with an HF arc start function. Previously only found on expensive professional TIG units, HF technology is now available on units with a retail price of about $2,000. To use the HF function, the operator places the tungsten about 1/16 inch off the workpiece and presses the start button on the torch or depresses the foot pedal. The HF start circuit inside the welder creates a high-frequency, high-voltage/low-amperage current that ionizes the air, which provides a path for the welding current to follow. The burst of HF lasts only a few milliseconds and shuts off after establishing the arc.
For all those who wondered why a “real” TIG welder costs more than a “Stick/TIG” welder, the HF arc start circuitry is a primary reason. However, welders with consistent and positive HF arc starts are a joy to use. Further, considering the cost of a rejected weld or a weld failure caused by a tungsten inclusion, virtually every experienced welder will opt for a unit with HF arc starts given the choice.
Pulsing for Better Results
Part of the appeal of TIG welding comes in part from being able to read the weld puddle and adjust the heat input to achieve the desired effect. By pulsing the welding output between a high peak current and a low background current, pulsed TIG provides fabricators with an additional, powerful tool to control results. By fine tuning the pulsed variables, users can:
- Reduce total heat input, sometimes by up to 50 percent or more.
- Narrow the bead width (perhaps by up to half) and increase penetration by increasing pulsing frequency (start at 100 Hz and adjust up to 500 Hz).
- Create a wider, shallower bead by using a low frequency of 10 to 20 Hz.
- Reduce the size of the heat-affected zone.
- Boost travel speed (perhaps by up 20 percent or more).
- Promote better weld quality by providing more control over the weld puddle size and direction.
- Enhance weld bead aesthetics, whether that is tight ripples or stacked dimes.
- Use a slow frequency (1 Hz) to help beginners develop a cadence for adding filler metal.
Fabricators working with stainless steel and other heat-sensitive materials use pulsed TIG technology to address issues related to warping, degraded metallurgical or mechanical properties and undercut caused by excess heat. Pulsed TIG works well for thin materials, edges, filling a hole, joining thin-to-thick sections and welding outside corners (which are often made without filler). Pulsed TIG can help with many issues, but it is not a miracle process. To control heat input, users should also consider fixturing, skipping around the weldment to distribute heat input and extending gas post-flow (more on gas flow shortly).
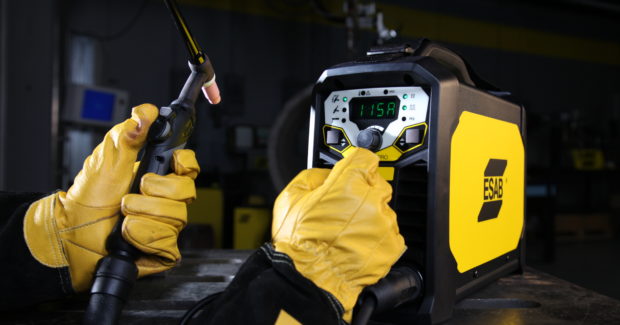
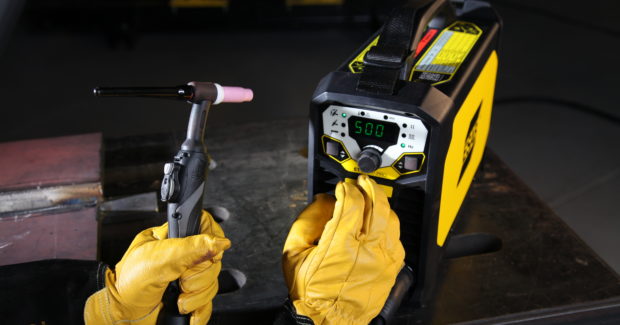
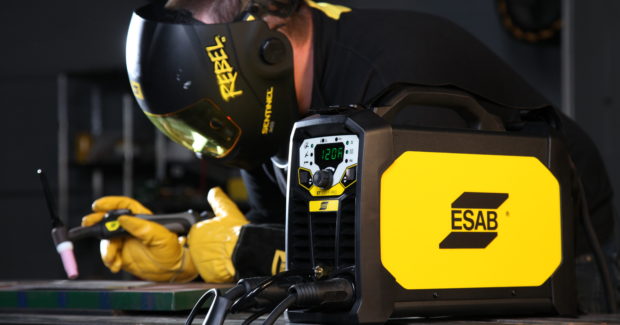
Pulsed welding used to be a feature reserved for expensive, professional, large and heavy welders. Advances in inverter technology and digital controls now enable including pulsed TIG functions in professional-grade welders that cost about $2,000, weigh less than 22 pounds, have a 200-amp output, are about the size of a lunch box and have the flexibility to connect to 120V or 230V primary power.
A welder with basic pulsed TIG functions enables the user to adjust pulsing frequency. The range varies by model, with a range of .5 to 500 Hz being the broadest available within this category. These welders may also enable users to adjust background current, which is set as a percentage of peak current. As an example, with the output on the control panel set at 150 amps and the background current set at 20 percent, the welder pulses between a peak output of 150 amps and a background current of 30 amps.
An “industrial grade” pulsed TIG welder (which will have a higher output and cost more) will also enable the user to adjust the duration of the peak current, or “pulse width.” Pulse width is typically set as a percentage of time at peak current, from 10-to-90 percent. This additional cycle time creates an extremely focused arc cone for precision welds.
Additional Functions
A TIG welder in the “professional” category will also have several other distinguishing functions that increase convenience and improve results. These include:
- A built-in solenoid valve that starts gas flow as soon as users initiate a weld sequence and automatically shuts it off at the end (the alternative is a TIG torch with a manual gas valve).
- Connections for a remote amperage control (typically a foot pedal), which enables much easier control of heat input.
- Shielding gas pre- and post-flow controls. Pre-flow is essential, but the duration isn’t particularly critical. Post-flow is the amount of time the shielding gas flows after the arc is shut off. It keeps atmospheric contaminants out of the weld until the weld puddle cools and extends tungsten life. As a rule of thumb, use 1 second of post-flow for every 10 amps of welding current.
- Current upslope and downslope, which are helpful when not using a foot control. Ramping up current at the start of the weld helps operators establish the weld puddle without burn-through. Downslope tapers down current at the end of weld sequence and can help prevent crater cracking as the weld cools or melting away the edge when reaching the end of the plate.
- 2T (standard on/off) or 4T trigger control. In 4T mode, users press the TIG torch trigger switch (1) to start shielding gas flow and initiate the arc at a pilot current level. Releasing the switch (2) ramps up the current to the set current value. To stop the welding, press the trigger switch again (3). The current will slope down to the pilot level again. Releasing the trigger switch (4) will terminate the arc. The shielding gas will continue to flow for the set amount of time.
The features found on a professional TIG welder make it much easier and more likely for beginning users to achieve a high-quality weld. For all those that want high quality welds, want to take on new business or are tired of warping, burn-through or stumbling arc starts, it’s time to step up to a welder that letS them achieve better results.

