Achieve Zero Defects with Innovative Measurement and Inspection Solutions
Uncover hidden defects before downstream processes are impacted with the latest 3D scanners, powerful software packages and portable measurement devices.
Posted: March 17, 2023
MEASUREMENT & INSPECTION
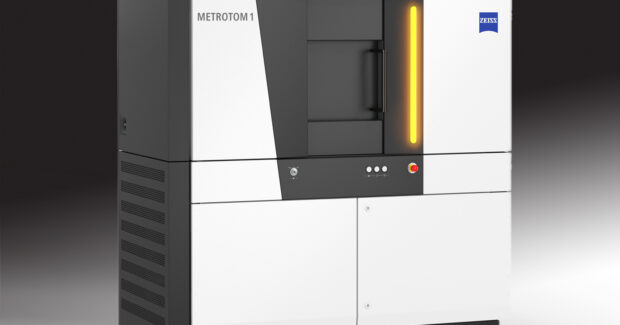
ZEISS METROTOM 1 CT Scanner Available Through Exact Metrology
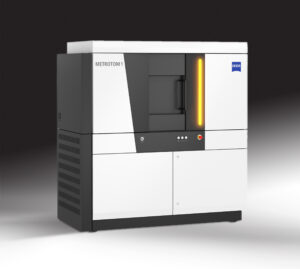
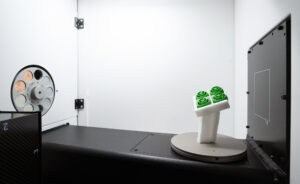
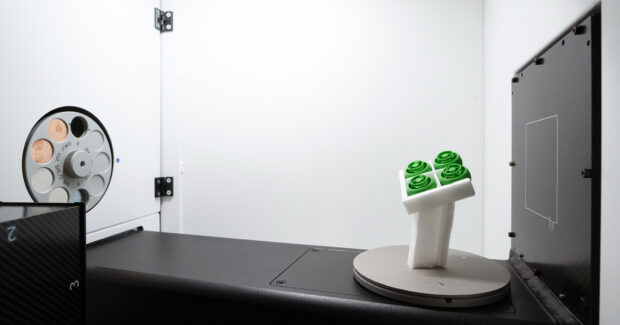
Exact Metrology, Inc. (Cincinnati, OH) a division of In-Place Machining Co., a comprehensive 3D metrology service provider and hardware sales company, is leasing the ZEISS METROTOM 1 CT scanner. The METROTOM 1 allows users to measure and inspect hidden defects and internal structures that can’t be detected with tactile measuring systems.
The CT system offers several advantages, including easy handling, precise measurements, small footprint and fast return on investment. Installation is a simple process with very little training required. With the ability to measure and evaluate complete parts, accurate nominal/actual comparisons, dimensional checks and wall thickness analysis can be performed. The compact CT system fits into any metrology lab, allowing users to carry out in-house metrology measurements and quality assurance without external measuring services. Besides low acquisition costs, the cost of ownership is also kept low thanks to system components. ZEISS METROTOM 1 requires maintenance just once a year.
This system now makes reliable X-ray technology and non-destructive quality assurance available to everyone. Whether medium- or small-sized parts, plastic or light metal, the scanner can inspect a variety of parts such as connectors, plastic caps, aluminum parts and more.
Equipped with the operation and inspection software GOM Volume Inspect, the software combines all stages of the CT process from scan setup and reconstruction to data evaluation and reporting. Geometries, shrinkage holes or internal structures and assembly situations can be evaluated precisely. With just one software, users can load volume data from several components into a project, perform a trend analysis, compare the captured 3D data with the CAD model and more.
All-new Family of 3D Multisensor Measurement Systems
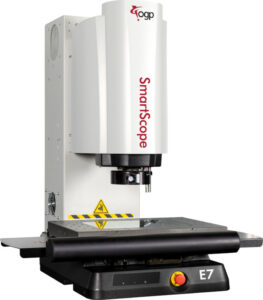
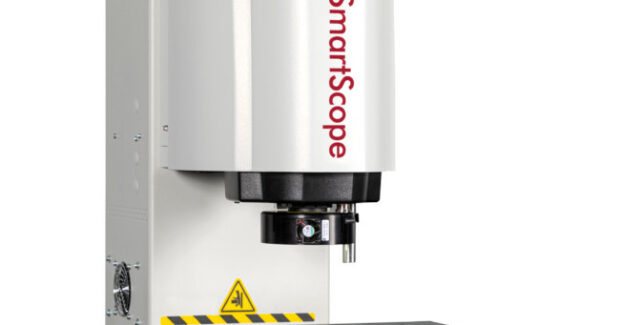
Optical Gaging Products (OGP®) (Rochester, NY), a world-leading manufacturer of optical and precision multisensory metrology systems for industrial quality control, offers the SmartScope E7, the first in the all-new SmartScope E-Series family of 3D Multisensor Measurement Systems. OGP is a division of Quality Vision International Inc.
OGP has reimagined the trusted SmartScope system to be accessible for all skill levels and budgets. SmartScope E7 features the brand-new fixed lens IntelliCentric™ optical system, a fully telecentric optical system that provides a super high-resolution image perfect for video edge detection. The digital zoom allows for instantaneous magnification changes, while the standard all-LED lighting system provides illumination from all angles.
“The combination of an innovative optical design, advanced camera technology, and proprietary OGP image processing allows SmartScope E7 to have the same feature size range as other mechanical zoom optical systems, but with no moving parts,” said Colby Finn, vice president of marketing for Quality Vision International. “The engineering behind this machine has produced significantly better optical performance at low zoom, with better image quality, telecentricity, and distortion free imaging.”
Gage Confirms Accuracy of Measuring Machines After Calibration
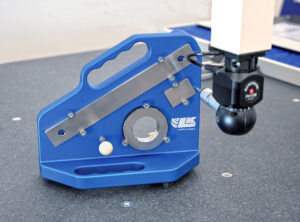
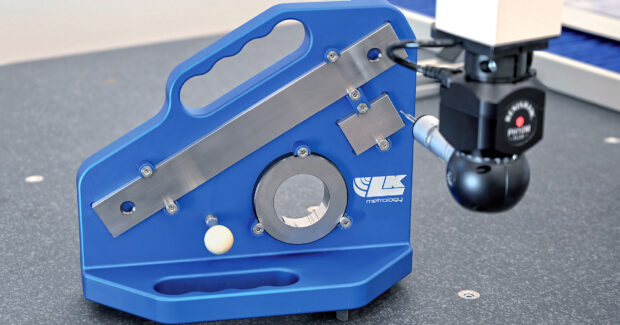
A new range of UKAS-certified length and form gages, complete with holding fixture, has been introduced by coordinate measuring machine (CMM) manufacturer LK Metrology Inc. (Hudson Heights, MI), allowing the inspection accuracy of any 3D measuring platform to be verified. The user can have greater confidence in the results of an inspection, whether for metrology or reverse engineering, long after the typical annual calibration of the measuring machine has been carried out.
Each CMM Checking Gage (CCG) enables independent monitoring and verification of accuracy through regular intermediate checks on a CMM or portable measuring arm. An OEM can be certain that prototypes and production parts are within tolerance, while subcontractors are able to assure their customers that machining and inspection carried out on their behalf are accurate. It demonstrates a commitment to a consistently high standard of dimensional quality control. Gage measurement tolerance is ± 0.01 μm.
CCG provides an efficient go/no-go check with measurement results for ongoing CMM monitoring. Three combinations of length bars, ring gage, test sphere and fixture of different sizes are available to suit various measuring machine models. Regular use provides an early warning of changes in the inspection system and an opportunity to take pre-emptive action. Once identified, accuracy issues due perhaps to environmental changes or an unnoticed probe crash can be addressed by scheduling an interim machine service or calibration before downstream manufacturing processes are impacted.
New Solution for In-Line Checking of Pouch Cell Battery Welds
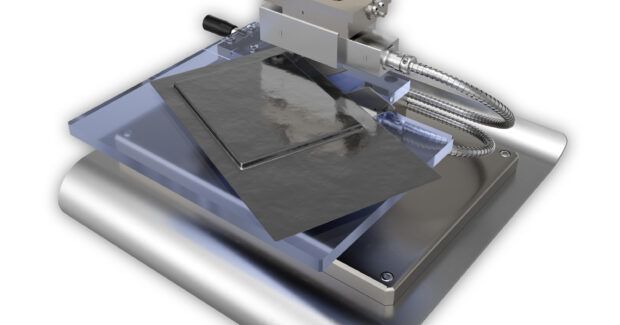
Marposs Corp. (Auburn Hills, MI), a global leader in measurement, inspection and test technologies, has announced its solution for checking the welding joint of pouch cell batteries within the production process. Comprised of interferometric sensors and its NCG (non-contact gauge) controller, the system works by splitting light into two beams that travel different optical paths and are then combined to produce interference, which can identify refractive changes and surface irregularities.
Pouch cell batteries are typically sealed using impulse or contact welding (heat sealing), which fuses the plastic layers together. The thickness of this joint is a key indicator of the quality of the seal and must be measured while the material is still soft. Marposs can check this thickness right after the welding process using its non-contact, interferometric technology.
The solution can measure thin external plastic layers starting at 1 µm, as well as accommodate thickness variations due to the presence of the tabs in parts of the welding seam. The pouch cell measuring solution comes with a measuring snap with two interferometric sensors that enable the simultaneous measurement of the total thickness of the welding seam and the thickness of the two external plastic layers. Each sensor has a measuring field of 900/1.8 mm and offers a repeatability range within 1 mm of the application thickness.
The basic configuration features the NCG controller, a high-speed elaboration gauge that can be connected to any machine for accurate and fast part thickness control. Optional offerings include a Marposs 9066 industrial PC with Quick SPC software for statistical elaboration and data transfer. Special gauging solutions can be configured to measure the weld thickness in multiple positions, or to fully scan the welding seam along the complete perimeter of the pouch cell.
New Versions of IDC and IDF Indicators are Available
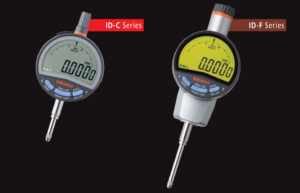
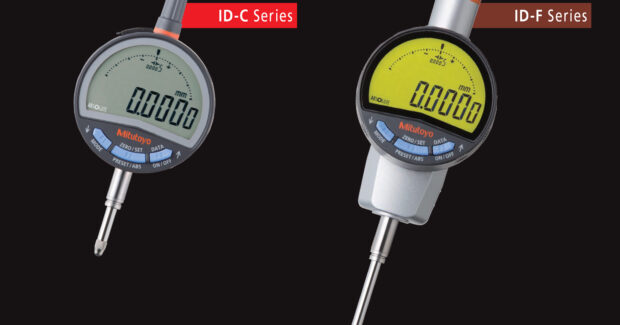
Mitutoyo America Corp. (Aurora, IL), a leading manufacturer of precision metrology instruments and solutions, offers new versions of the IDC and IDF series of Digimatic indicators and products built around these indicators such as depth and thickness gages.
IDC and IDF series improvements and changes:
- The IDC and IDF series Digimatic Indicators have new designs and functions. Improvements include higher resolutions down to 20μinch/0.5 μm, a built-in calibration date warning, larger LCD and “analog” bar, and new S1 output (bidirectional communication), which allows settings to be changed through the new USB ITPak 3.0 software (free and paid versions).
- All models with .5”/12.7 mm range will now have a metric (M2.5×0.45) stop screw (screw under dust cap). The contact points will remain the same: AGD models = 4-48 UNF contact point, ISO/JIS models = M2.5×0.45 contact point. The tapered, tapped hole for lifting cables has been removed.
Calibration period notification functions:
- The LCD displays an icon to notify the user when the set calibration time approaches. This facilitates the proper precision management of ID-C/ID-F.
- The calibration period notification icon starts blinking at a set time before calibration is due (e.g. one week before the calibration due date). If the deadline is exceeded, the entire screen starts blinking to notify the user.
New Software Package for Portable Roughness Gages
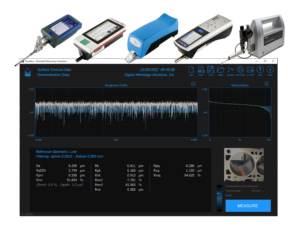
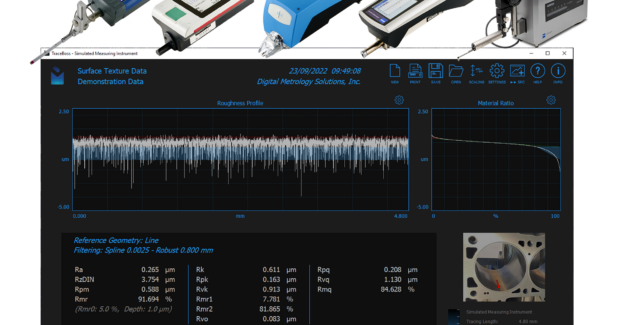
Digital Metrology Solutions, Inc. (Columbus, IN), a provider of measurement software, consulting, and training, has introduced the TraceBoss software package for portable roughness gages.
“Most portable gages show you a roughness number or two and perhaps a small image of a profile on a tiny screen,” said Mark Malburg, president of Digital Metrology Solutions. “As a result, many users are eager to do more with their data. TraceBoss gives portable gage users the power of a high-end instrument at a far lower price, and in an easy-to-use package.”
The TraceBoss software interfaces with most portable surface roughness gages via a USB connection. One click in TraceBoss configures the gage, initiates a measurement, and presents the results and graphics full screen and in high resolution. The software display is optimized for the highest visibility in shop environments.
With most portable gages, the profile and data cannot be easily saved or recalled. TraceBoss makes it possible for a gage user to save data and easily reload it for comparisons, traceability, and statistical process control. TraceBoss calculates and reports most common roughness parameters. Optional tolerance highlighting shows immediately whether a surface passes or fails relative to user-provided limits. A unique, side-by-side display clearly shows the relationship between Rk and Rq family parameters and the peaks and valleys that they describe. A range of portable surface gages connect to TraceBoss with minimal setup.
New Self-centering Discs Make Installation Quick, Easy, and Right the First Time
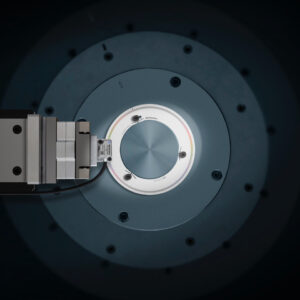
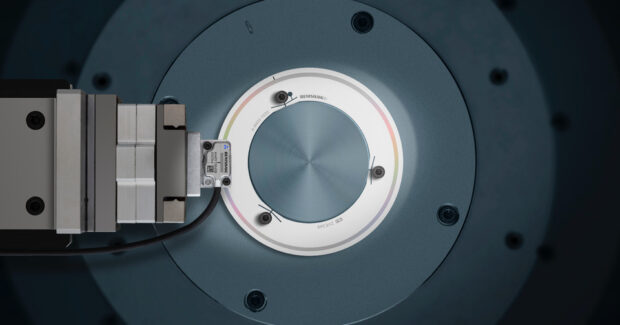
Renishaw, Inc. (West Dundee, IL) offers an innovative metal scale disc for its ATOM DX encoder series: the CENTRUM™ CSF40 scale. After intensive research and development at Renishaw, rotary RCDM glass scales are now joined by CENTRUM stainless steel self-centering discs. CENTRUM CSF40 scale discs are quick and easy to install ‘right first time’ due to their innovative mounting features that automatically center the scale when pushed onto an appropriately sized shaft. These alignment features enable fast installation with highly consistent installed accuracy.
CENTRUM scale discs are substantially quicker and easier to install due to the specially designed flexures that act like springs to align the disc to the shaft. Mounting of the CENTRUM disc is completed by the addition of three bolts, tightened to pre-set torque values, with no additional gauges or setup devices required. The discs are made from robust stainless steel, which is resilient and easy to clean. With 40-micron pitch incremental graduations, the discs are available in a range of sizes with external diameters from 38.4-to-120 mm.
“Our new stainless-steel disc scale, CENTRUM CSF40, incorporates three pairs of optimized alignment flexures to enhance the speed and ease of rotary encoder scale installation,” said Ben Carruthers-Watt, senior design engineer for CENTRUM.
Subscribe to learn the latest in manufacturing.

