Embrace 5-axis CMMs to Future Proof Your Business
Consider migrating from 3-axis to 5-axis CMMs to compete in a digitized market where complex parts have become the norm.
Posted: August 18, 2023
Songwriter Bob Dylan penned the words to his hit song “The Times They Are a-Changin” in 1964. Its’ message — that change is a constant…and anything that appears one way now may appear differently in the future — is especially relevant today for job shops, fabricators and manufacturers.
Supply headwinds, labor shortages, and a volatile economic environment continue to alter the industry while sensors, connected devices, robotics and augmented reality transform factory spaces.
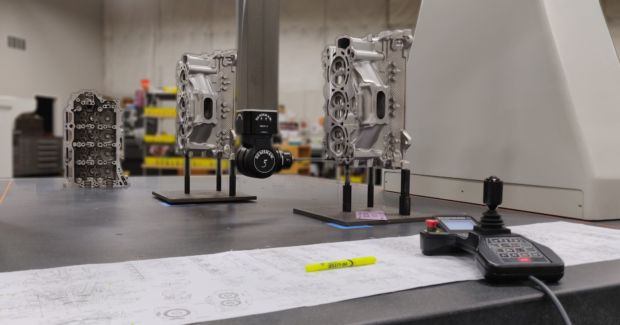
Rapid technology advances for markets like aerospace, medical, automotive and electronics continue to feed demand for more complex and intricate parts. These hard-to-make components require 5-axis CNC machining and tooling with the capability for precise, accurate processing and finishing. Inspection and measurement requirements for these components have pushed adoption of coordinate measuring machines (CMM) with infinite 5-axis probe head positioning and single platform software to the forefront.
“The manufacturing sector has shifted from 3-axis machine tools to 5-axis machine tools to generate more complex parts,” said Thomas Ayers, sales and business development director for AIMS Metrology. “We’re also seeing simultaneous development of 3D printed parts that no longer conform to conventional manufacturing techniques. The geometries used to create these shapes can’t be measured by conventional methods. High precision parts in particular require 5-axis inspection. Companies are also seeing larger part volumes. Faster inspection methods are needed to keep up with demand. Some companies try to combat the problem by duplicating their current systems, but that type of thinking can be a trap. A 5-axis CMM can take the place of two 3-axis machines and save a fabricator valuable floorspace. Usable space equals real dollars these days. More square footage means more parts production.”
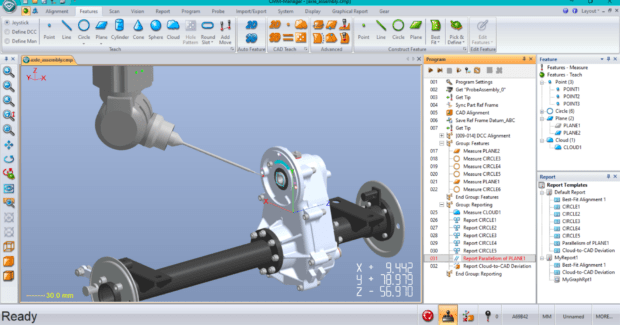
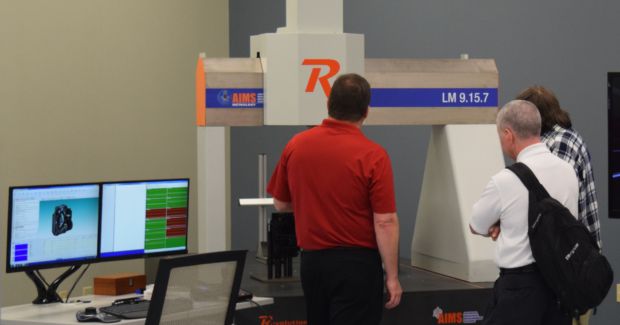
AIMS’ Revolution Series CMMs — the LM, HB and Summit 10.10.10 — provide turnkey, versatile three-dimensional inspection of small to large in-process and post-process parts on the shop floor, in the lab or in an automated cell. The OEM is able to tailor its CMMs to customers’ software requirements with systems like (Renishaw’s) Modus, CMM-Manager and Verisurf’s CAD-based modular software.
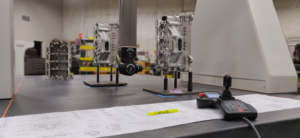
Ayers said adoption of hardware isn’t the biggest obstacle. “Manufacturers can find it difficult to let go of legacy software,” he said. “In this digitized market a 5-axis CMM can collect more data faster and provide a more comprehensive picture of a part’s dimensions and characteristics then you would get with 3-axis inspection. But you can’t run a 5-axis machine with legacy software. We help fabricators make that transition by writing their initial programs for them. This allows a company to hit the ground running with parts inspection. Most companies have an 80/20 rule. We try to focus on the jobs that make up 20% of a manufacturer’s workflow to help them achieve 80% output for parts with urgent measurement requirements. Our ability to tailor different software packages to a customer’s applications means they aren’t pigeonholed into a specific product.”
Holding on to legacy software systems can also result in higher costs and greater inefficiencies. Older systems require more maintenance which can contribute to more downtime. Companies that don’t keep pace with evolving technologies may also miss out on opportunities for automation, integration and process optimization.
“To stay competitive, companies need to evaluate their current systems and invest in solutions specifically designed to accommodate the requirements and capabilities of a 5-axis CMM,” Ayers said.
CMMs Solve Pressing Needs
AIMS evaluates a company’s parts to help them answer several critical questions. Do parts need to be measured on the shop floor at the point of manufacturing or inspected in a laboratory environment? Would the parts being analyzed lend themselves to automated inspection in a production cell? Probe selection is based on whether a part needs tactile inspection or 5-axis multi-sensor measurement. Modern 5-axis software is designed for integration into automated processes or existing cloud-based ERP and MRP business management suites.
In the face of the labor shortage and skills gap, AIMS has taken on the role of integrator for manufacturers and fabricators that want to install its 5-axis CMMs and software platforms with robotics.
“We can teach an employee how to use a software product like CMM-Manager in three days versus weeks with conventional 3-axis systems,” Ayers said. A 5-axis CMM with a universal controller and single source software platform also frees companies from lengthy wait times for service calls.
“The other twist is that the push to reshore products here in the U.S. has created higher demand for inspection reports and quality assessments,” Ayers noted. “Companies competing for aerospace or defense contracts in particular, will also need to provide dimensional reports on parts. On the flip side, reshoring and onshoring for technologies like EVs and semiconductors has a launched a number of startups. For these companies and smaller job shops that may be on the fence about investing in 5-axis CMM inspection and measurement capabilities, a primary reason to embrace the technology is to future-proof your business.”
Subscribe to learn the latest in manufacturing.

