New Measurement Software Combines Surface Roughness and Crosshatch Measurement and Analysis
Digital Metrology Solutions’ TraceBoss+ adds surface roughness, angle, and quality analysis in one easy interface.
Posted: October 2, 2023
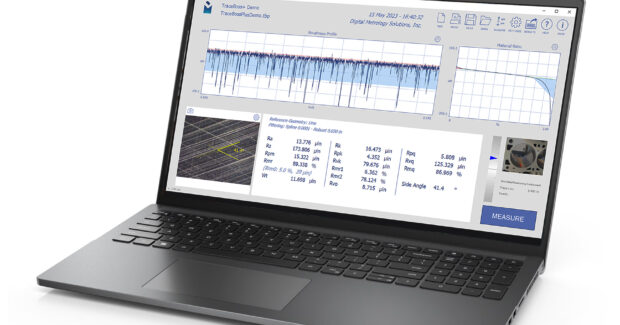
Digital Metrology Solutions, provider of measurement software, consulting, and training, has introduced TraceBoss+ (TraceBoss Plus) software, integrating surface texture and crosshatch measurement in a single package.
“Last year Digital Metrology’s TraceBoss software changed how people see, save, and understand data from surface roughness gages,” said Mark Malburg, president of Digital Metrology. “Since that release, we’ve had many requests to add crosshatch angle measurement to the software, as well as the ability to view torn and folded metal, a key indicator of how a honing process is running. TraceBoss+ adds both of these functions, as well as introducing new tools to analyze, save, store, export, and output all of these results together. This complete toolset greatly helps anyone working with engine components to see their data and explore their surfaces.”
TraceBoss+ software interfaces with most portable surface roughness gages. A user can take a measurement, view the results and graphics full screen, save data, and reload it for comparison and statistical process control. It reports most common roughness parameters, showing at a glance whether a surface passes or fails user-provided limits.
The built-in crosshatch functionality lets a user acquire an image of surface texture from any USB equipped microscope. Simple tools make it nearly instantaneous to obtain the crosshatch angle, while zoom and pan functions let an operator navigate through high resolution image data to review the cleanliness and consistency of honing processes.
Perhaps most importantly, the crosshatch angle information is added to the parameter results, so the data and image can be output along with surface roughness data in a single file. All of the data can also be printed in a concise, easy to-share report.
“When we released TraceBoss, we knew we’d given surface roughness gage users a powerful tool for understanding surface texture,” said Malburg. “Now, TraceBoss+ goes many steps further, putting surface roughness, angle, and quality analysis in one easy interface.”
Subscribe to learn the latest in manufacturing.


