Fast and highly repeatable geometry laser system greatly reduces calibration time
Hamar Laser Instruments unveils the L-703SP Surface Plate Calibration System, which offers many advantages over conventional methods.
Posted: November 18, 2023

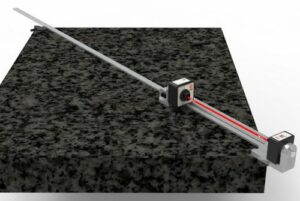
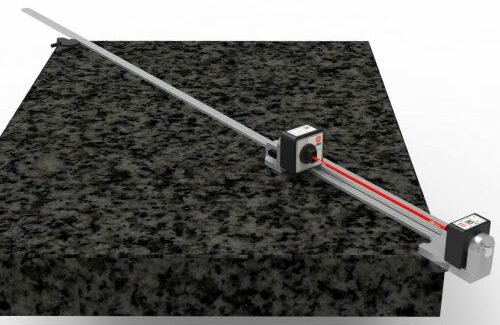
Hamar Laser Instruments, Inc., a world leader in laser alignment and calibration systems, has released its L-703SP Surface Plate Calibration System. The L-703SP is a compact geometry laser-based calibration system that is highly repeatable, offers extremely high resolution and accuracy, easy setup and training, and fast data collection. R&D and field testing have shown that the L-703SP significantly reduces the time for calibrating surface plates by 30-60% versus conventional methods.
During the design process, Hamar Laser worked with a calibration laboratory to find out what was most frustrating and time-consuming with the lab’s existing methods. “One of the biggest problems the lab faced with electronic levels was poor repeatability between technicians,” said Rod Hamar, president of Hamar Laser Instruments. “So, we not only worked on creating the best laser and measuring target we could, but we also invested a lot of time on the supporting fixtures to make the L-703SP as repeatable as possible and as fast as possible. In our testing on a 4×6-foot plate, we are seeing overall flatness repeatability of about 20x over the A-grade plate tolerance according to the ASME B89.3.7 standard, Granite Surface Plates.”
The L-703SP System offers many advantages over conventional methods. It is 30-40% faster than electronic levels, more rugged and reliable, and more repeatable from one tech to the next. In addition, the L-703SP is set up directly on surface plates, so each line segment setup is much easier than autocollimators and laser interferometers, which require floor mounting and touchy setups. This results in 50-60% faster plate calibrations and, unlike these devices, does not require re-taking data if the laser beam is broken.
“This is a very exciting new metrology market for us,” continued Hamar. “With its many distinct advantages, our L-703SP will help high-volume calibration companies significantly increase the number of calibrations they can do annually, and it will also help internal calibration and metrology departments to streamline their processes.”
The L-703SP System uses Hamar Laser’s newly designed next-generation L-703S Spindle and Straightness Laser and T-1297 3-Axis Wireless Straightness Target. Compact and lightweight, the new laser is ideal for high-resolution straightness applications, such as surface plates, machine-tool guideways, and spindle axes. The T-1297 target features a super-linear, 2-axis PSD (Position-Sensitive Detector) with resolution of 10 μin. (0.25 μm) and mechanical repeatability of ±10 μin. (±0.25 μm).
The L-703SP features new Windows-based Plane6 Surface Plate Calibration Software, which offers an easy-to-follow, 3-step calibration procedure and built-in tolerance table that speeds setup and data-taking, and generates a full-color report. The system also includes the A-703SP-LM Laser Mounting Fixture, A-703SP-SE Straight Edge & Ruler, A-1297-SP High-Accuracy Flatness-Measuring Base, and A-703SP-SE-CLT Corner and Mid-Point Locating Tool. The laser and target are powered by Li-Ion rechargeable batteries with 14+ hours of life and use Bluetooth wireless communication.
For resurfacing surface plates, the L-703SP also features the Lapping Spot-Checker™, a unique time-saving feature allowing users to spot-check the flatness of any line segment in the Moody plot without having to take data for the entire plate. This can save many hours when having to lap-in a plate that is out of calibration.
The L-703SP Surface Plate Calibration System is the latest in an expanding line of applications using Hamar Laser’s compact and versatile next-generation L-703 Laser and replaces Hamar Laser’s L-740 System for surface plate applications. In addition to surface plate calibration and flatness, the L-703SP System measures surface vertical and horizontal straightness, axis vertical and horizontal straightness, and guideway vertical and horizontal straightness.


