Five Equipment Adjustments to Improve Weld Quality
Regardless of your skill level, using subpar equipment will put your work at risk or make it harder to optimize output.
Posted: November 7, 2023
WELDING TIPS
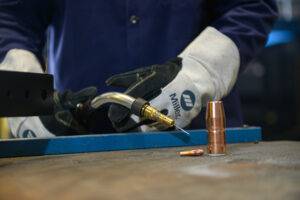
Consistent bead placement that’s free of spatter, bumps and defects while appearing smooth and clean — it doesn’t get much better than that, whether it’s your first weld of the day or 40th. Consistently laying the perfect weld may seem like a tall marching order, and fortunately, it doesn’t require ultra-high-tech equipment to achieve one. To get those high-quality, repeatable welds time after time, the best place to start is to revisit the equipment you’re using and determine if it’s working hard for you — literally and figuratively. Seemingly small upgrades can lead to big impacts long term, so consider these five components of your welding operation as you look to improve weld consistency.
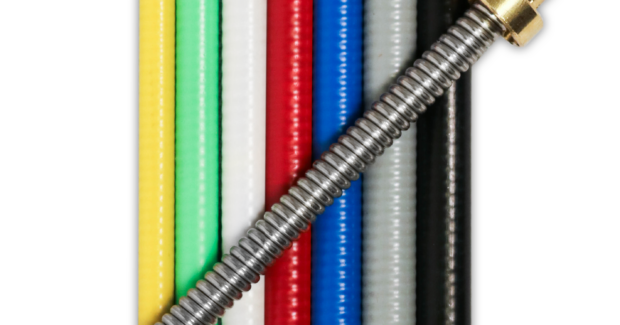
1.Liner quality and installation: For MIG welders, the wire liner is the backbone on the torch’s performance. This has a direct impact on the quality and efficiency of the welding process, as a smooth and consistent wire feed is what makes it possible to maintain a stable welding arc and achieve uniform welds. The choice of liner depends on factors such as the welding wire diameter, the type of material you’re welding and the specific MIG welding setup you’re using.
Quality liners will be made with premium materials and manufactured for tighter tolerances, both of which help premature wear and tear and allow for a smoother transition for the wire as it passes through the torch. Low quality liners, although typically cheaper, tend to create more wire drag, which will hinder feeding performance, consumable life and overall weld quality. Keeping cost in mind, the time a welder spends repairing their torch and/or welds, is almost guaranteed to cost more than a quality liner that may have reduced or eliminated the need to do so.
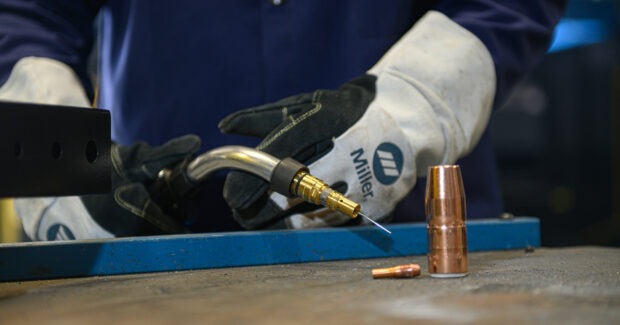
After selecting the right liner for your job, it’s important not to shortchange the next step: ensuring the liner is cut to the correct length. If it’s cut too short, you’ll experience poor wire feeding, bird nesting, erratic arcs, burnback and/or chatter in the gun. Simply said, the weld quality will suffer over time and diminish productivity. Taking the time to establish that the liner is cut correctly, clean and free of burrs promotes the smooth feeding needed. Laying the MIG gun and cable straight, preloading the liner and trimming to the manufacturer’s specification are all required tasks to assure you’re getting the best performance out of your torch. Consumables exist that are specifically designed to address liner trim length errors. The liner is locked and aligned at the front and rear of the gun to provide a perfect wire feed path with minimal opportunity to install improperly.
2.Grounding equipment: Consistently overlooked, proper grounding is critical for establishing reliable and consistent performance of your entire weld system. Regardless of your welding process, a ground clamp or connection is key to making that happen. Proper grounding leads to a stable arc, which provides a clear path for the electrical current to flow evenly.
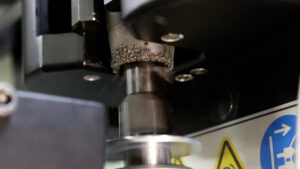
To get that strong electrical ground connection, it’s important to invest in a quality clamp and to ground as close to the welding arc as possible to minimize resistance. When selecting a clamp or ground cable, review its amperage rating and flexibility. Different clamps have different ratings, so you need to select one that won’t overload the clamp with too much amperage. Here, it’s better to buy a clamp that can handle a greater amount of amperage to ensure you don’t create problematic resistance and heat.
Another factor to consider is the ground cable material and size. Typically, you will see copper clad aluminum (CCA) or oxygen free copper (OFC). Both can get the job done; however, CCA is less superior to OFC, size for size. Make sure to research what size cable is needed based on the parameters set. A good rule of thumb is that CCA needs to be two times the size of the OFC. Improper ground size will impact the resistance and electrical transference. Too much resistance will negatively affect weld quality, potentially damage your welding gun over time and cause you to wear through consumables faster. There are a lot of variables to consider when selecting the right grounding clamp, like duty rating of the clamp and size of ground cable it can support, but you need to find the sweet spot where you’re not just getting the full performance of your system.
3.Wire selection and quality: Without a filler metal there would be no weld — and choosing the right wire for the application is imperative to both laying a quality weld and minimizing costly cleanup and rework.
Welding wires are classified based on their characteristics and usability, providing information around the type of filler metal, allowable welding positions, tensile strength, shielding gas requirements and overall composition, among other key details. Those are a lot of variables to consider, but the first step — and arguably most critical — is to match the filler metal to the base material to minimize the risk of cracking, corrosion and other weld defects. If the chemistry is off, it will lead to problems down the line.
In addition to the range of filler metal types, there’s a range in quality. Using a low-quality, typically “cheaper” wire can result in premature failing of contact tips, erratic burnbacks, poor wire feed ability, excess spatter or overall poor weld. Those are common quality issues that require cleanup and rework. Once you know the type of filler metal you need, selecting a premium option up front can save time on the job and most likely save money overall.
4.Fixturing: To get a perfect weld, clean access to the joint is critical. Proper fixturing improves weld accessibility, reduces distortion, promotes consistent weld quality and minimizes defects. Whether you create your own fixturing or have something specifically manufactured for you, part orientation, surrounding components and weld joint accessibility should drive what’s needed. It is important that you have the tools that will be used taken into account prior to designing fixturing. Also, failure to prioritize weld access can limit your ability to navigate space and assume the weld angles you need to complete a quality weld, potentially compromising weld penetration and costing rework time, materials and money.
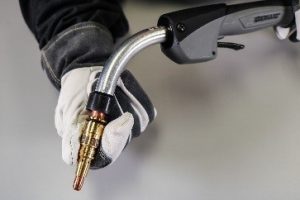
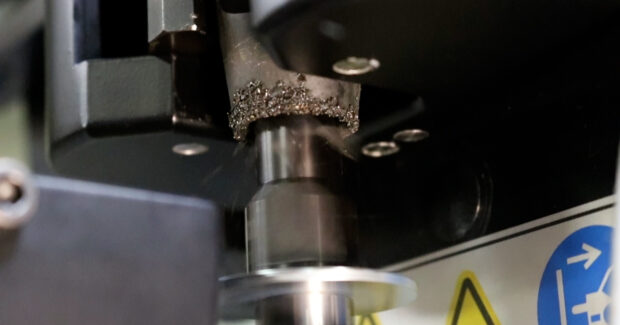
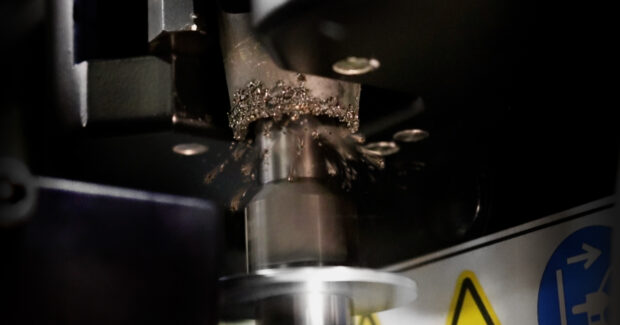
5.Reamers and anti-spatter sprayers: If you’re welding is automated, maintaining uptime is key to a successful operation — and too much debris in the nozzle is a looming threat that can bring production (and productivity) to a screeching halt. Debris blocks the shielding gas from fully protecting the weld arc, resulting in porosity, poor-quality welds and a lot of rework. Having to manually clean a robotic welding gun is time-consuming and increases downtime.
To keep spatter from impeding production, invest in a peripheral piece of equipment, like a reamer or nozzle cleaning station. A reamer is not only beneficial for its automated nozzle cleaning cycle, but it can reduce downtime for changeover of consumables, increase productivity and extend the lifespan of consumables. To take it a step further, if you do install a reamer to clean the nozzle, you also have the option to introduce an anti-spatter fluid sprayer to coat the front end and inside of the consumables after every cleaning cycle. When paired together, the combination will provide a significant decrease in downtime, maximizing your time and money. Be mindful however, that too much, or too little, anti-spatter will hinder the performance as well.
Getting back to the basics isn’t just a cliché — it’s a great place to start if quality and consistency are compromised. There are foundational pieces of equipment that are the workhorses of the welding operation and critical to what you do. Regardless of your skill level, using subpar equipment will put your work at risk or make it harder to optimize output. When those core pieces of equipment are working in concert, it will help ensure consistent, high-quality welds — and a show pony of a workpiece you can be proud of.


